Protecting Your Hair at Night

Satin Bonnet
for when I’m wearing rollers and
curly braid outs

I’ve been writing lately about Protective Hairstyles which can help with length retention.  Yet another way to protect the hair is by wrapping it up at night.  This may sound like a no brainer to some but there is a lot of benefit for the hair by doing this one thing.   This practice can be a huge help when trying to reach your hair length goals.

I  recently re-read a bit of Wanakee Pugh’s “Practical Guide to Haircare” and something stood out to me.  She stated that even if your hair is too short to be pulled back into a protective style, you can still benefit from wrapping your hair at night.  This reminded me of the beginning of my Natural Hair journey because I did this faithfully every night.  My hair was maybe only 1 1/2 inches long at the time but I kept it wrapped up in my satin scarves when I went to sleep.  Now that my hair is longer I can tell a huge difference in my hair when I go to bed without covering it up.  I wake up to tangles and sometimes dryness.  I agree that it is not the cutest look going but it works.

I mentioned my satin scarves (I have a nice little collection) but you can also use a satin bonnet.  Satin is a man made material that is easy to wash and can be long lasting.  This is highly recommended as far as material choice because it does not draw moisture away from the hair and is smooth so it won’t disturb it very much while you sleep.  When I wear rollers to bed I usually reach for my satin bonnet.  Otherwise, I have scarves in a variety of sizes for when I wear braids, twists and protective styles to bed.  Here’s a few pics of how I wrap my hair.

Pineapple for the Corkscrew Braid Out
with my edges protected

Air drying while smoothing my edges 

Large Satin Scarf to protect my
 Roller Set from the rain

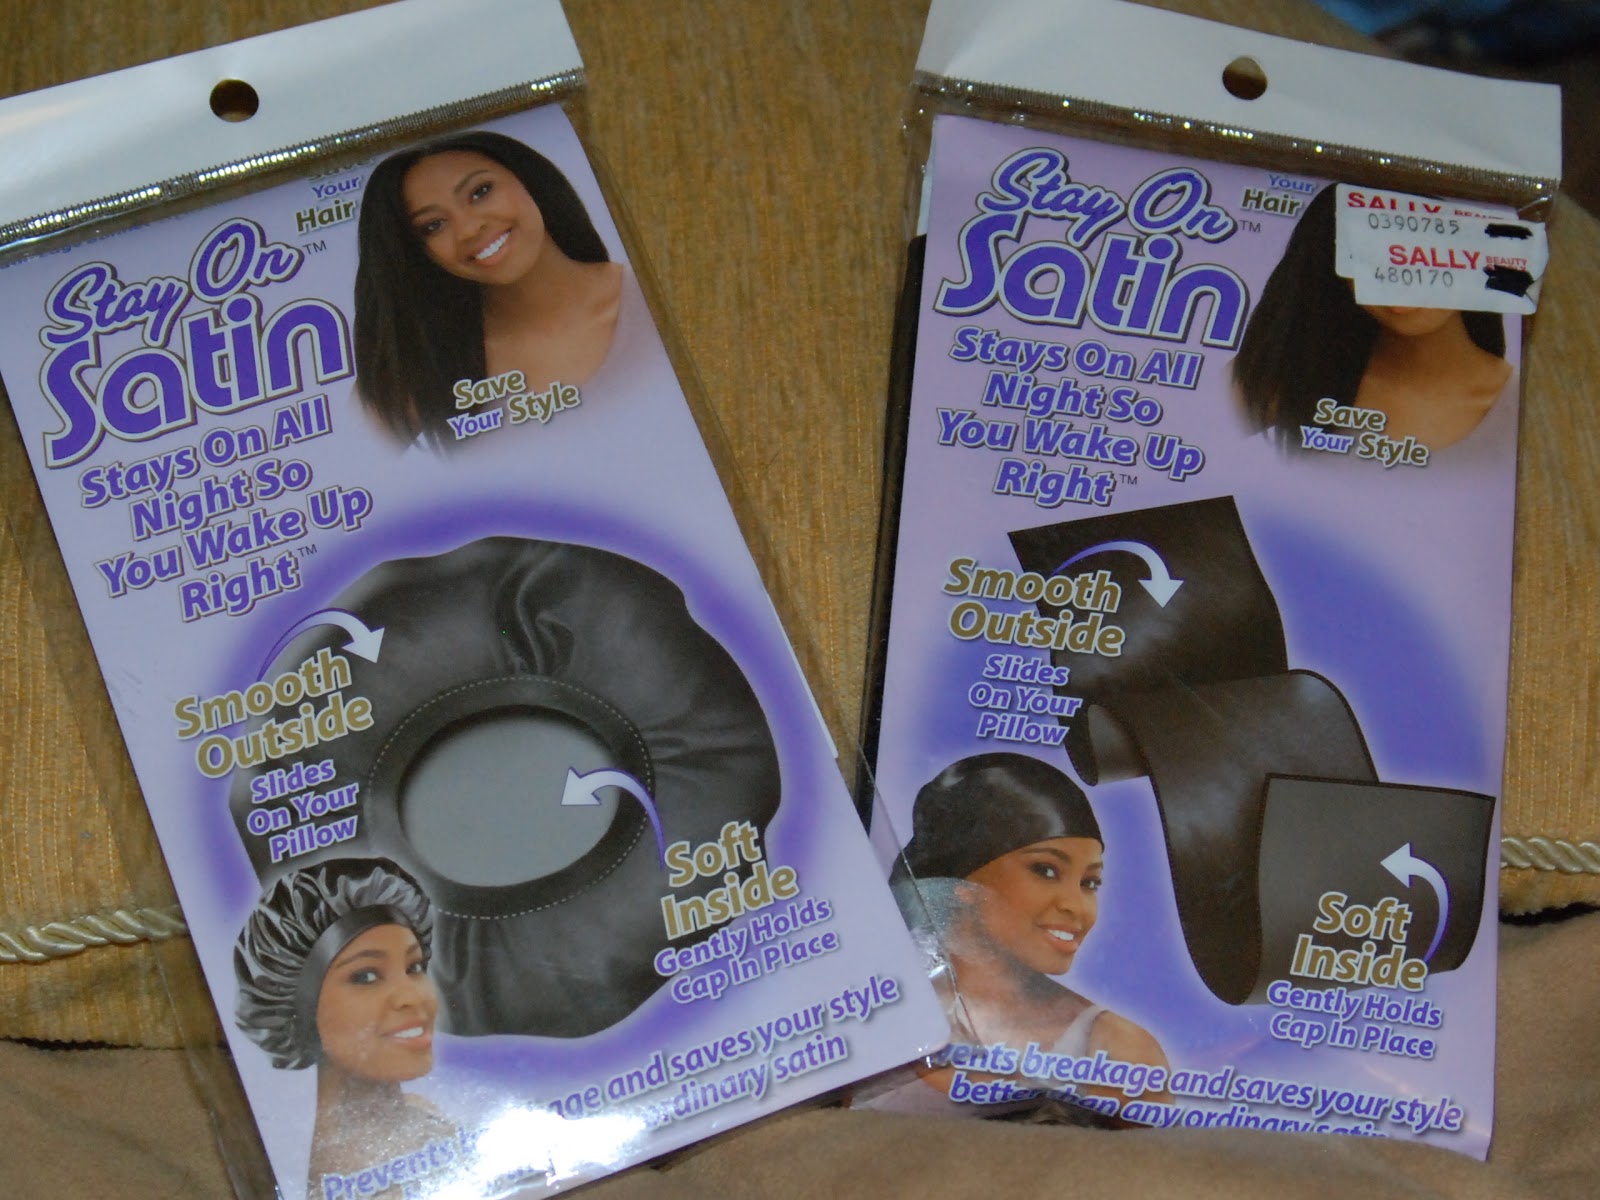
Satin Bonnets and Scarves from
the local BSS

Protective Style: Flat Twist UpDo

I’m finally embracing the idea of protective styling to help me retain more length.  This concept has been so hard for me to grasp because I absolutely love wearing my hair out.  The more time I spend over at K.I.S.S. hair forum the more I see that during the week (Monday thru Friday) there really isn’t any need to wear my hair down.  I’m usually shuttling the kids to school, exercising and running errands which does not require a glam look.  Still, when I want to look somewhat put together I just throw my hair up into two large flat twists and I’m good.

Before, I discovered this look I was always wearing two french braids (under hand braiding) or two cornrows (over hand braiding).  Sometimes though I think the braids made me look a little juvenile so for this reason I started wearing the twists
more often.

Flat Twists secured
with a Barret

My process is pretty simple.  I discovered that the flat twists have lots more volume when I allow my hair to air dry first.  Usually after my wash day routine, I apply my leave-ins and just pull my hair back into a braided bun for a whole day until it is mostly dry.  Then I take the hair down so I can apply my moisturizer and seal with grapeseed or olive oil.  After this step, I separate my hair into two large sections, parting down the middle and pin one side up with a clip to keep it out of the way.  I lightly comb out the other side with a wide tooth comb and begin flat twisting from the front of my head all they way to the nape.  I found that the twist looks best when I grab smaller sections for each turn.  After twisting all the way down I let the twist sit for a few minutes because it will gradually loosen a bit and look fuller.  I repeat on the other section.  Once both flat twists have “grown,” I take the tail ends and twist them around each other.  I then tuck them at the base of the twists with a bobby pin or barrette.  If I want bangs I just take a small section at the front and do three small two-strand twists.  Then I swoop them and secure the bangs into one of the twists.  If I see any loose points along either twist I just use bobby pins to tighten things up.

I used three small two-strand twists
for a side swooped bang

I enjoy wearing this style because it has the potential to look really glam with a little makeup and some earrings.  This is also an easy style to take down so that I can moisturize and seal my hair whenever it is starting to feel dry.  The best thing is knowing that I’m taking care of my hair by simply keeping it tucked away.

Protective Style: The Puff Bun

I am slowly gaining on my third year with natural hair and am finding new ways to style my curls.  I have always known that I simply cannot keep my hands out of my hair so sometimes I have to put it away.  More recently though, I have been trying to keep my hair protected for the majority of the time so that by summer I will get to see lots more growth retention (a.k.a. lots-of-hair).

Before now I kept thinking that the only protective styles in my arsenal were Mini Individual Braids, the Donut Bun and French Braids.  Thankfully I have discovered even more ways to tuck my hair away.  I’ll be sharing a few styles in the coming weeks so stay tuned!

First up is what I call the Puff Bun but I have seen others call it the “Cinna-Bun”.  Basically, I pull my wet hair up into a puff by using an “Ouchless” headband that I wrap around twice.  I use Eco Styler hair gel to help smooth the sides and nape area.  I push the headband back towards the crown until it stops and then spread the puff out to expose the center.  After that I simply push the hair down towards the base.  I then pin sections of the puff with bobby pins and secure the ends of each section near the band underneath.  In the pictures posted I also left out a little hair in front for fluffy bangs.  I used a small clip to secure the ends of the bangs to make a side swoop.  This can also be done with dry hair that has been stretched from a braid-out or twist-out.

I like this style because I don’t have to use any hair gel on the length of my hair for a curly effect because I’ll be tucking the hair under anyway.  This also keeps my ends protected which will help me reach my hair length goals.

I used Eco Styler Gel on the sides
and nape

Ends are tucked under with Bobby Pins

Back View
More Protective Styles to Come!

What My Hair Has Been Up To

I know I haven’t been posting very much lately but I wanted to share some of the styles that I have been rockin’ the last few weeks.  I have actually been wearing my hair straight a little more which I think is coming to an end this week.  At least until I can get my hands on a flat iron that has a heat dial so I can adjust the temperature setting.  My FHI Technique G2 straightens really well but only has one setting…400+ degrees!  I know that a lot of you are thinking why use heat in the first place?  I know, it can be damaging but, I’m one of those Naturals who likes to use it occasionally.  Anywhoo, enough of the straight talk and on to the pics. . . Enjoy!

Corkscrew Braid Out
at the Denver Art Museum

Flat Twist Up Do
My current favorite during the week
to keep my hair protected

Corkscrew Braid Out
with Satin Scarf Headband
with Eco Styler Gel on my edges
Corkscrew Braid Out
Back View

Straight Hair in August just
before Trim

Wash n’ Go at City Park

Biking with Natural Hair

My Bike Helmet
with Flat Twists Underneath

My family and I love going on outdoor adventures.  This summer we have been doing a lot more bike riding together.  I always make sure that the kids wear their helmets but I haven’t really been into wearing mine.

That was until I noticed nearly every other adult on the bike path wearing theirs.  At the very least they had on a cap for sun protection.  So I decided it was time to get out the old bike helmet.  Never mind the fact that it makes me look like Kazoo from the Flintstones.  Safety first, right?  The only thing I had to figure out though was what to do with my thick, curly hair underneath.

When I go for a bike ride in the morning, the solution is pretty simple.  My hair is usually in twists or braids from the night before so I just wait until after the bike ride to take my hair down.  This means shuttling the kids to school while wearing a satin scarf on my head but hey, I know I’ll be cute later on in the day, so that’s alright.  I don’t even bother removing the scarf because it protects my hair while under the helmet.  Another option is after a braid out when my hair is more flexible, I can get my hair to “lay down” under the helmet without too much of a fight using bobby pins.

Flat Twists under Helmet
Back View

Other times though when my hair is up in a bun or puff, the helmet doesn’t really work.  Still, in Colorado you really can’t get away without some type of sun protection.  The high elevation here can make for some serious sun exposure so I still like to wear a visor and leave my hair up on top of my head like in the pic below.

So there you go Natural Hair Queens and Curly Goddesses…now there is no reason not to rock your head gear while on your bike ride.  Be safe and happy riding.

Rockin’ the Bun with
My Visor