My Easy Ponytail Roller Set

I sometimes get discouraged with my hair when I see those little tiny fairy knots on the ends.  Single strand knots (SSKs) can cause a lot of trouble because they tend to catch on hair strands and cause tangles.  Since I won’t be doing any major cuts on my hair this year (fingers crossed) I figured I should try my best to keep the knots to a minimum.

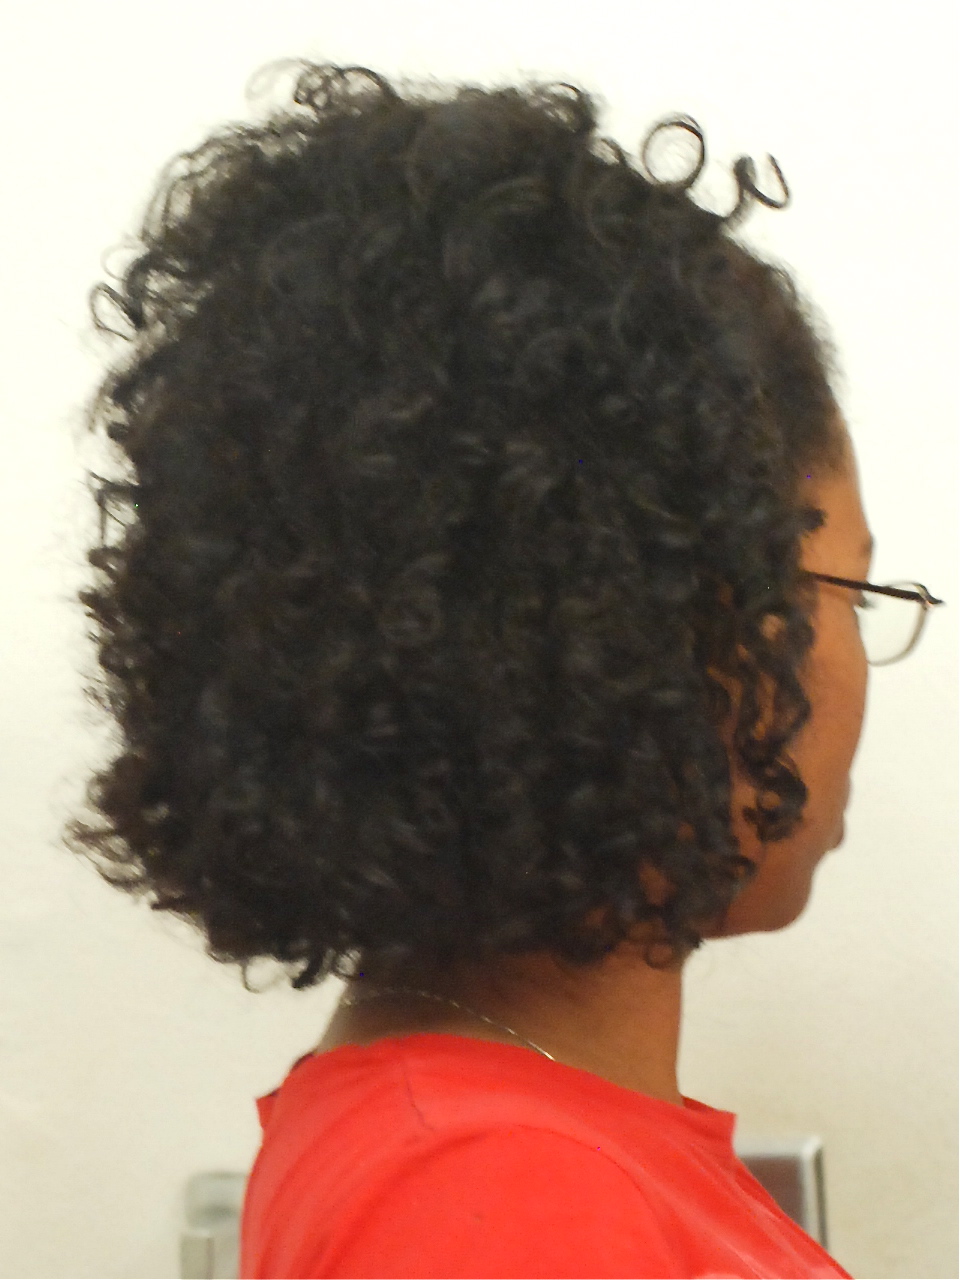
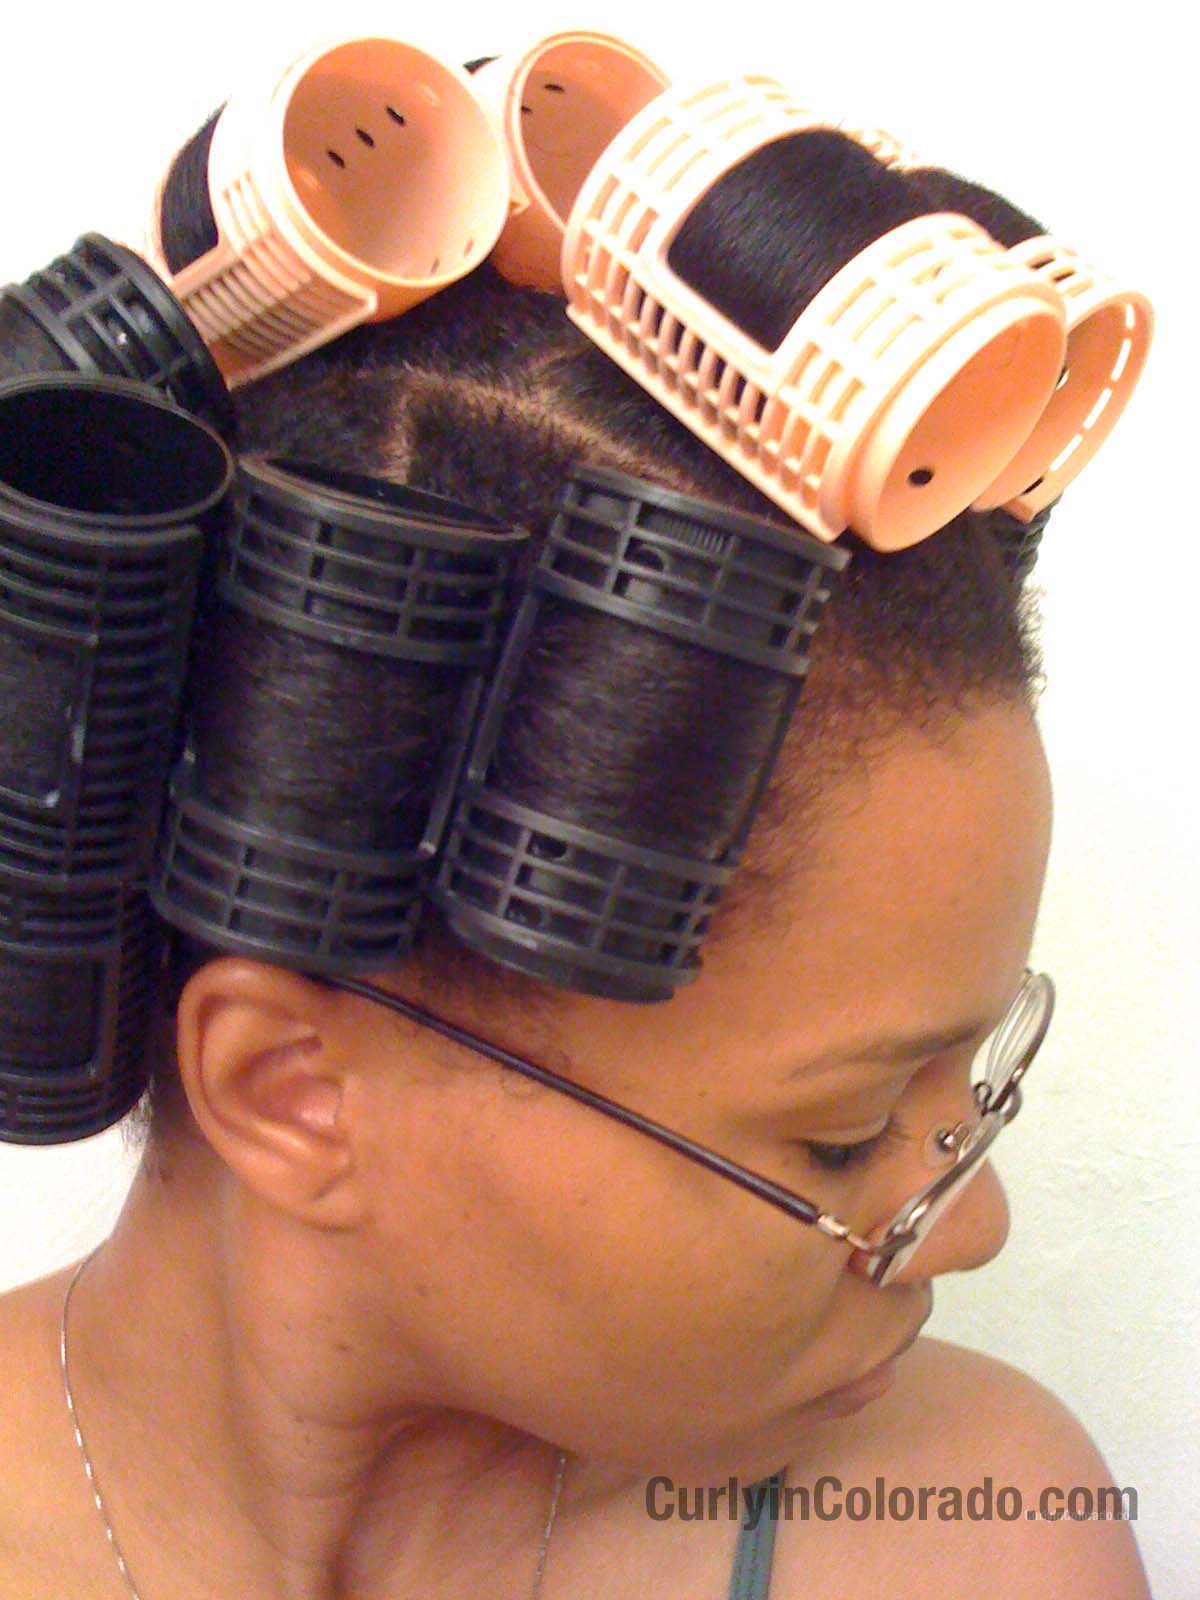
Since I sometimes use heat on my hair I can tell it still has lots of curl and shrinkage but is slightly more manageable than if I had skipped the heat altogether.  I tend to think that this factor has contributed to my success with roller setting lately.  The drying time is still the same but I can sometimes get away with using larger sections than I used to.  I thought maybe I would put my theory to the test by doing a ponytail roller set using only a few ponytail sections.  Instead of doing 4 ponytails down the middle (like a mohawk) and 4 more sections along the sides, I just used 4 large ponytail sections; 2 in front and 2 in back.  I then split each ponytail in half and rolled each section.  I also placed 2 individual rollers for the bangs.  My new method only took 4 ponytails and 10 rollers which is much easier and still gave me great results.

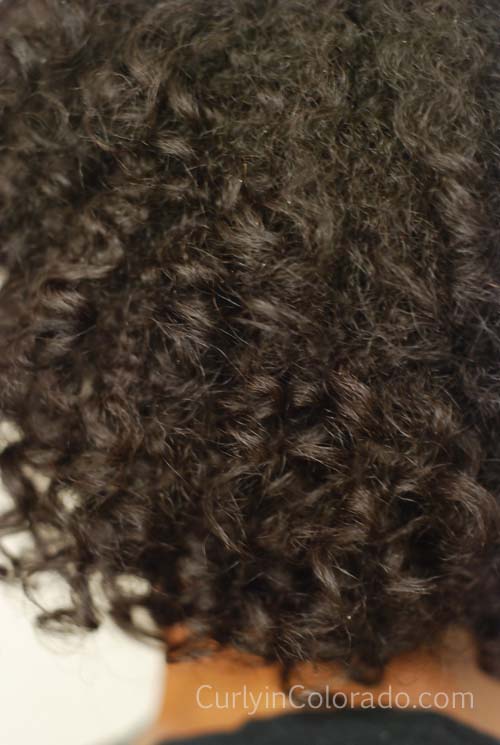
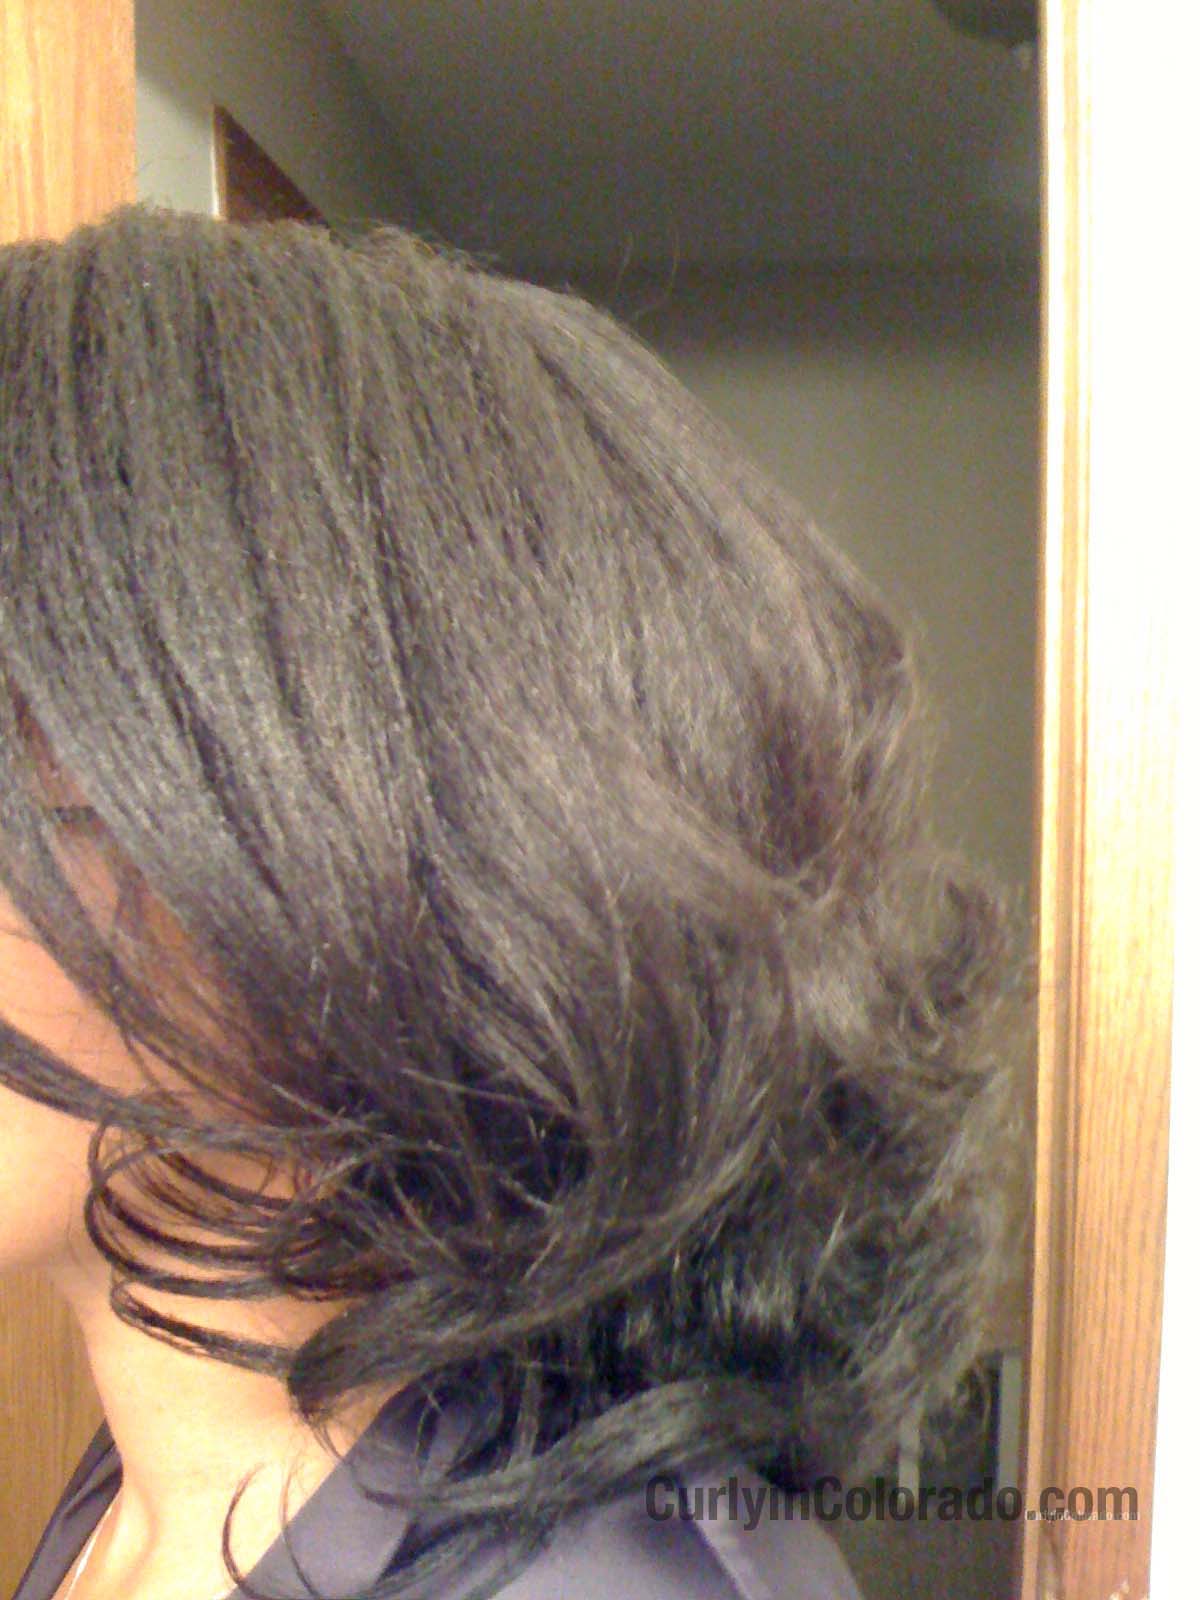
Since my main objective right now is to keep my hair stretched this method will work just fine.  It keeps my ends smooth so I don’t have to worry about them knotting up on me.  Not only that, it also takes a lot less time to get all of the rollers in.  Now that I have this figured out I can use this method to stretch my hair before doing protective styles like buns and up-dos.

THEN:  Ponytail rollerset using more sections
NOW:  Fewer ponytails still worked fine
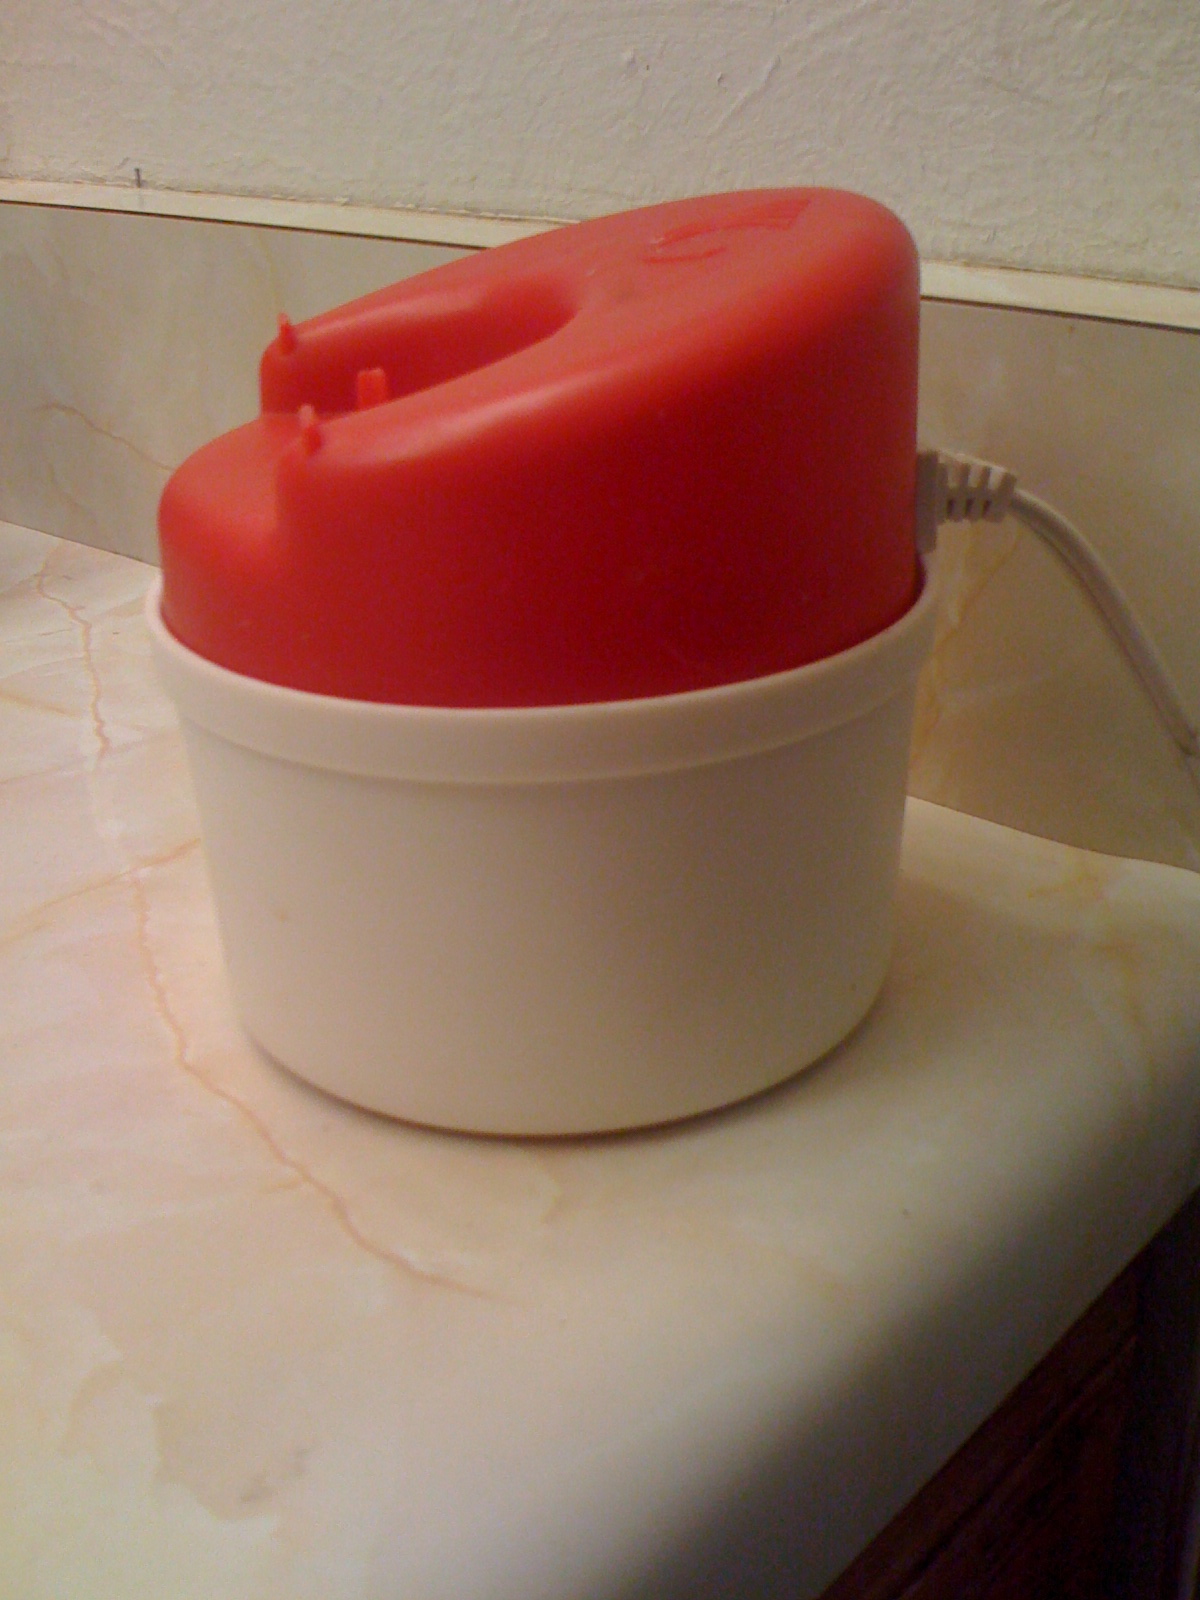
What I used to get the look:
Creamy Leave-in Conditioner
Heat Protectant serum (to minimize frizz)
Plain Water (to re-wet each section)
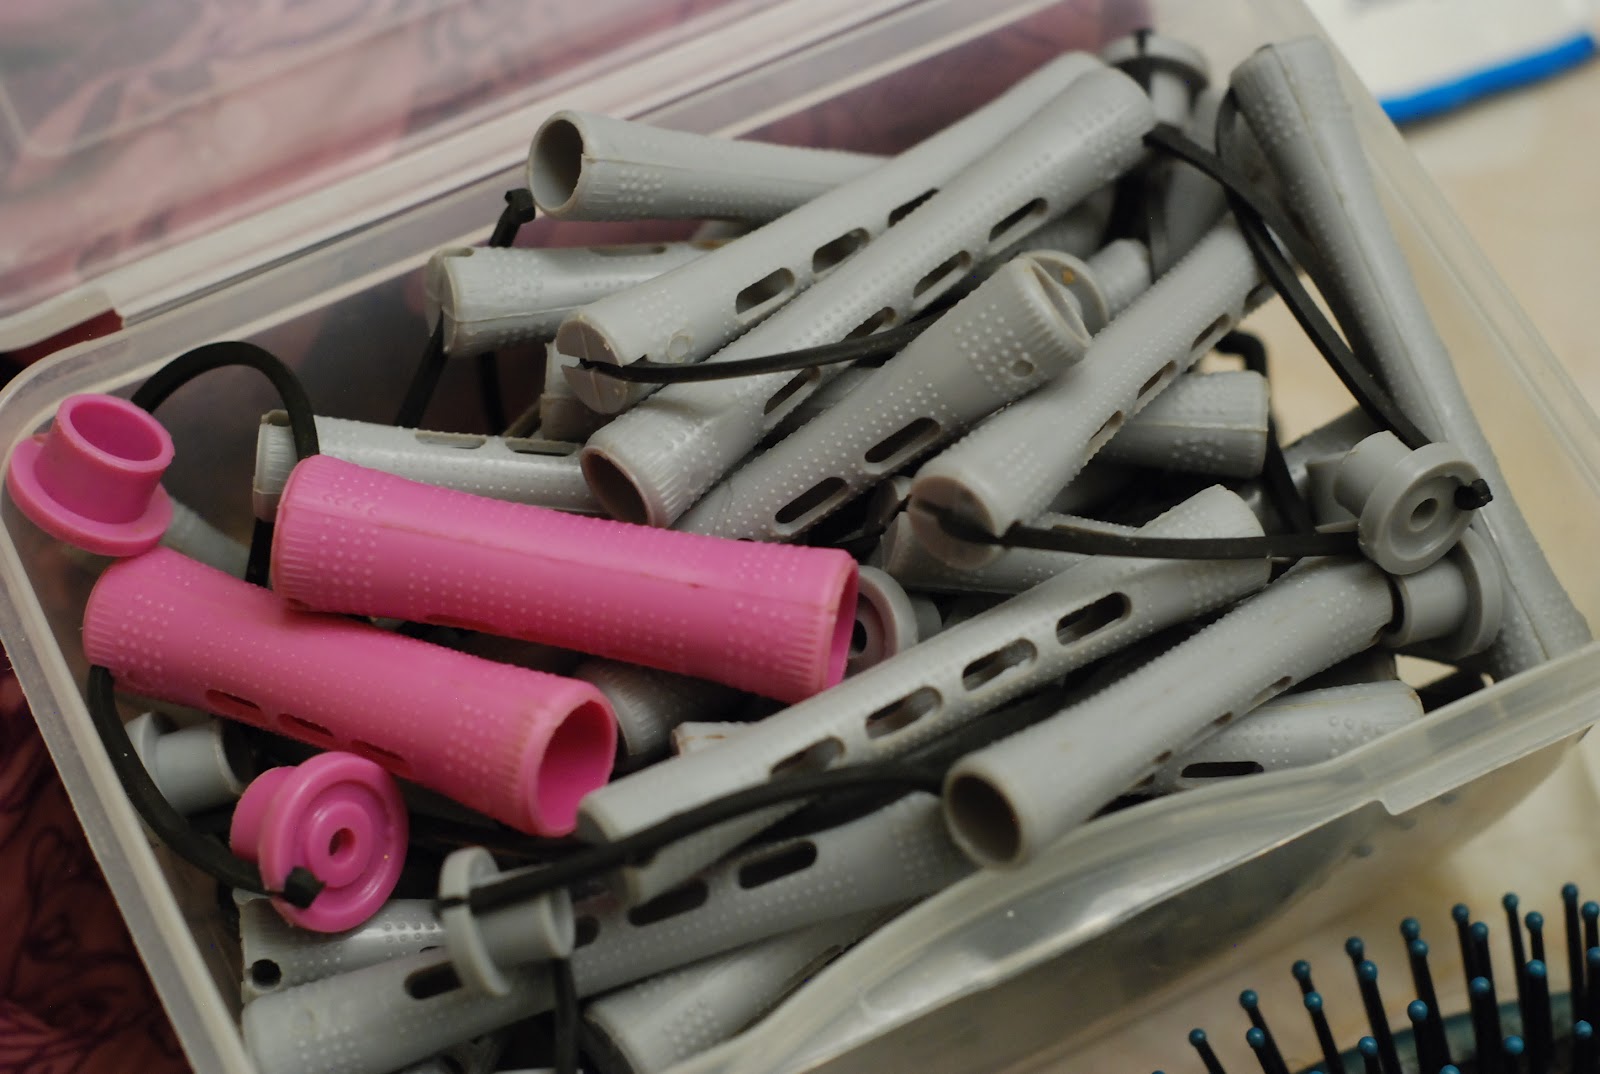
Goody Ouchless Ponytail Holders

The Results
Stretched hair with smooth ends

Re-Visiting My Caruso Steam Rollers

Using Caruso Steam Rollers on
my Straight Natural Hair

I recently wore my hair straight a few times and decided that rollers were the only thing that really gave me the curls I desired.  Overnight I used my Satin Rollers which I originally picked up at Walmart.  Sometimes though, I went to sleep protecting my hair only with a satin bonnet and woke up with hair that was just blah.  It was then that I remembered the Caruso Roller set that I practically begged my husband for over a year ago.  When I first got my Caruso, I remember that it was a little awkward working with the steam and rollers.  I’ve used it several times since then and it is a lot easier to use now.

How I use the Caruso Steam Rollers

Since I’ve always used it on hair that was straightened or previously stretched with rollers, I used to worry about reversion.  I think the only time this actually happened is when I left the rollers on the steam base way too long.  Soggy rollers on natural hair = reversion.   For this reason, I only place the rollers onto the steam base for seven seconds before promptly rolling the hair.  I also make sure that my end paper is already wrapped around the ends of the section of hair I’m working with.

The steam base
The Results
soft curls with no reversion

Another factor is there is always the possibility for frizz when using the rollers because of the added steam.  Using end papers helps to keep my ends smooth.  A light serum or coconut oil also helps to combat frizz.  The last thing I do is leave the rollers in for about 30 to 40 minutes to ensure the hair is completely dry before taking the rollers down.

In my opinion, the best way to style the curls is to use your fingers because brushing or combing will just result in poof (and we don’t want poof).  Using the Caruso Rollers can be tricky at first but they are a great alternative to styling the hair with direct heat.

Braid Out Using Eco Styler Custard

Corkscrew Braidout using
DIY Eco Styler Custard

When I discovered how well my little recipe for Eco Styler Custard worked for my wash n’ go, I never really thought of using it any other way.  This was until I recently revisited my Corkscrew Braidout method for an easy no heat style.  That’s when I decided it was time to put the custard to the test.

Normally when I do the braidout I start with stretched hair so that I’ll have more length and bounce.  This means pulling my hair back and letting it airdry for one whole day before starting the braids.  I just didn’t want to be bothered with all that this time so I did the style on damp hair right after I washed, conditioned and detangled.

I pretty much followed the same Corkscrew Braidout method I used in the video (link below).  However, this time I decided to use Paul Mitchell’s The Conditioner for my leave-in.  Then I applied the custard to each section of my hair before braiding and curling the ends.  I didn’t worry about sealing my hair with oil because the custard mixture already has castor, coconut and grapeseed oil in it.  I also switched to smaller grey perm rods because they give me more of a spiral effect than the medium size rollers.

Check out my YouTube Video for the 

The back

I was really surprised with the results.  My hair was very soft to the touch and moisturized.  I’ve been wearing the style for three whole days without applying any other products.  I haven’t seen any weird product build-up and it still feels pretty soft.  I re-braided a few sections that started to look a little fuzzy at the end of day two.  This was because I just slept on it as is one night.  Otherwise, I’ve just been pineappling my hair at night to help keep the curls in tact.

Small grey rods to roll the ends vs. the larger pink rods
both from Sally’s

I’m really thinking about wearing my hair like this more often.  I get to have the big, curly hair I love while keeping my hair stretched.  The bonus is that my ends stay smooth which means fewer single strand knots.  It’s a win, win if you ask me.


3 days later still lots of curls and softness

Finally APL and Holiday Hair Styles

My Holiday Make-Up Look
with Roller Set hair

The Holidays were fast and furious which left me feeling like I needed another break after it was all over.  Still, it was a lot of fun dressing up and going out with the family.  I especially enjoyed finally getting to see how long my hair was after the two Hair Growth Challenges I participated in over at K.I.S.S. 
last fall.

One of the challenges encouraged participants to start using Hot Oil treatments on a regular basis while the other asked everyone to start using a Growth Aid to help speed up hair growth.  I kinda fell off the bandwagon on the first one because since I sometimes have gel in my hair, I wasn’t too crazy about applying oils on top of that to do the treatments.  However, I do feel like the second challenge introduced me to an interesting growth aid that appears to actually work.  I’ll speak on that later on down the road.

The two challenges ended in December so I was really excited to see if my hair reaped the benefits of all that hard work.  I am happy to announce that I have finally reached my goal of APL length hair!  The top layers are still hovering around my collar bone thanks to that mini big chop I did last year but the back and bottom layers are doing really well.  Since I like to wear my hair in big curls I can see that I won’t be satisfied until my hair is around BSL or longer.  Right now with curls my hair sits just below my shoulders.

   I also needed a trim so I took care of that and decided to wear my hair down for the holidays.  Since I’ve been using roller sets to stretch my hair out I only ended up flat ironing the entire length of my hair once. The rest of the time I was able to enjoy a straight look with the help of my rollers and a little flat ironing at the roots.  My hair has reverted back and is going to be put away for awhile again but it was fun while it lasted.

Roller Set styled in a
Pin-Up Do with Back Down

Flat Ironed hair after
air drying in braids overnight
Flat Ironed Back View

Roller Setting Natural Hair-What I Have Learned

Roller setting any hair type is a tricky business.  Still, you can achieve smooth results using rollers on natural hair.  Once you get the technique down you can get salon quality hair at home.  

Here are some things I’ve learned about roller setting my natural hair.
1. Taking the hair down while it’s still damp (not completely dry) will result in frizz.  
I have done this so many times so I know this to be true.  Sometimes the frizziness actually adds to the style though if your going for a bigger look.  However if it’s sleek and smooth you want, you gotta leave the rollers in until completely dry.
2. For bouncy hair use as little product as possible. 
I use a good leave in, maybe a dime size of heat protectant and then just water to re-wet each section when I want a soft, bouncy set.  Setting lotion is also an option if I want more hold and is usually not too heavy.
3. Using oils may extend the drying time
I learned this one the hard way one night after rolling my hair while it still had some oils in it from my deep conditioning treatment.  I sat under the dryer for 2 hours and it still wasn’t dry!  I ended up having to sleep on the rollers until morning…ouch!
5. Use a good leave-in conditioner
Since natural hair has so much texture I’ve found that smoothing each section with the rat tail comb or Denman Brush is much easier when I apply a good leave-in.  My favorites are Garnier Fructis and Kinky Curly Knot Today because they give lots of slip.
6. Stick with rollers that are the right size for your hair length
Using rollers that are too large for your length can make rolling the hair more awkward.  
7. Don’t put too much hair on the roller.
If the parted section is wider than the roller, the hair may slip off of the roller from the sides leaving some puffy strands.  Also, putting too much hair on to one roller can result in longer drying times and semi-smooth results.
8. Ponytail Roller set = smooth roots
If I’m going for a curly look I don’t even worry about the roots.  It’s when I want a more straight look where the smoother roots come in handy.  You can always whip out the flat iron for this but using ponytail holders to smooth the roots works too.  There are plenty of discussions online and YouTube videos on this technique. 

My hair after a Ponytail Roller Set and Silk Wrap