Singin’ in the Rain with Gotye at Red Rocks Ampitheatre

Red Rocks Ampitheatre in
Morrison, Colorado

Here in Colorado it is pretty much common knowledge that Red Rocks Ampitheatre is one of the best places to take in a live show.   This week the hubby and I made another trek up the winding ramp that leads to the open air venue surrounded by massive red rocks to see the musician, Gotye.  The weather was not the best but fun was had by all once the show started.

There were two opening acts before the much awaited headliner.  After warming the crowd up with a couple of tunes,  Gotye (a.k.a Wally) remarked, as most singers do, at how the altitude made singing a challenge.  Still,  he managed to hit all the notes in perfect pitch.  The show was full of beat driven tracks such as, “Easy Way Out,” and, “Thanks for Your Time.”

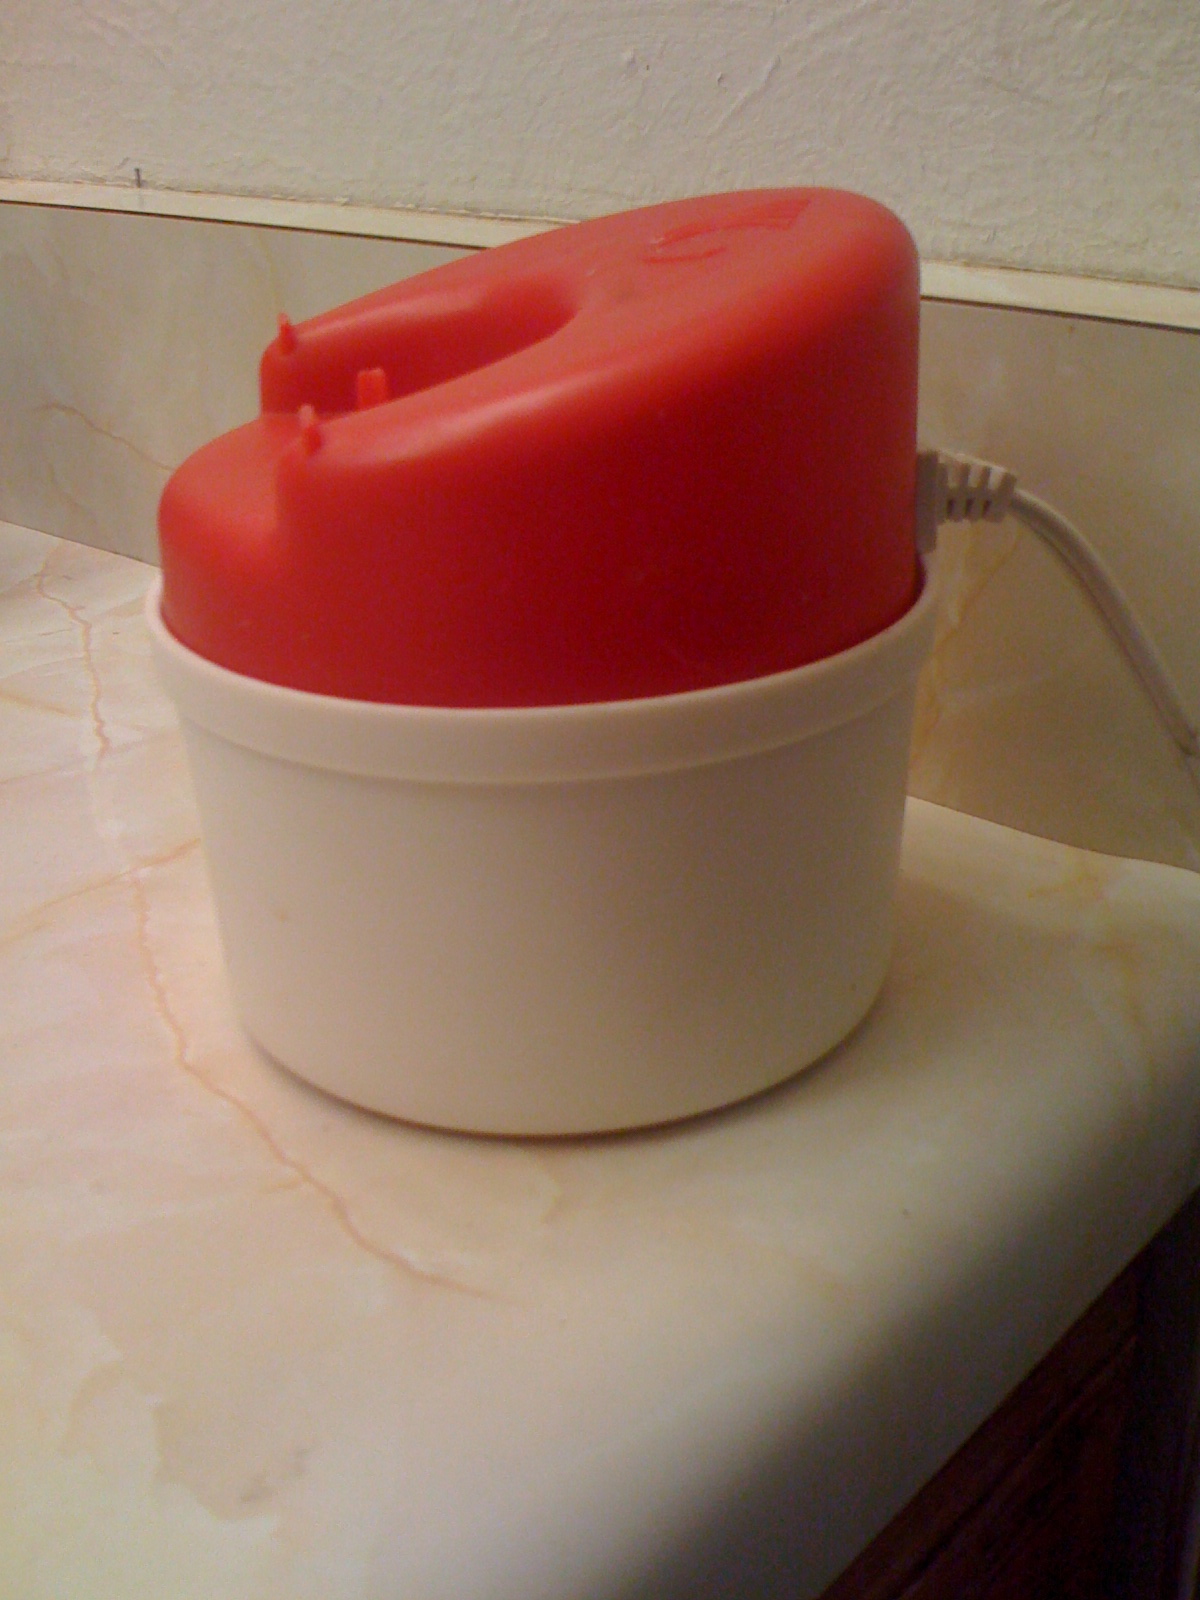
Prior to the show this week of course I kept thinking, “what am I gonna do with my hair?”  With the venue in mind it was a no brainer.  A Wash n’ Go was pretty much my only option because there was the chance it might rain.  I decided this before realizing that I was completely out of my staple styler, Eco Gel.  That’s when I remembered that I still had some Kinky Curly Curling Custard (KCCC) I bought a long time ago.  I couldn’t remember all of the do’s and dont’s for using this product so I went online to check which leave-ins it paired well with.  I found a video on YouTube explaining how the Tresemme Naturals conditioner I love so much works as a leave-in under the KCCC.

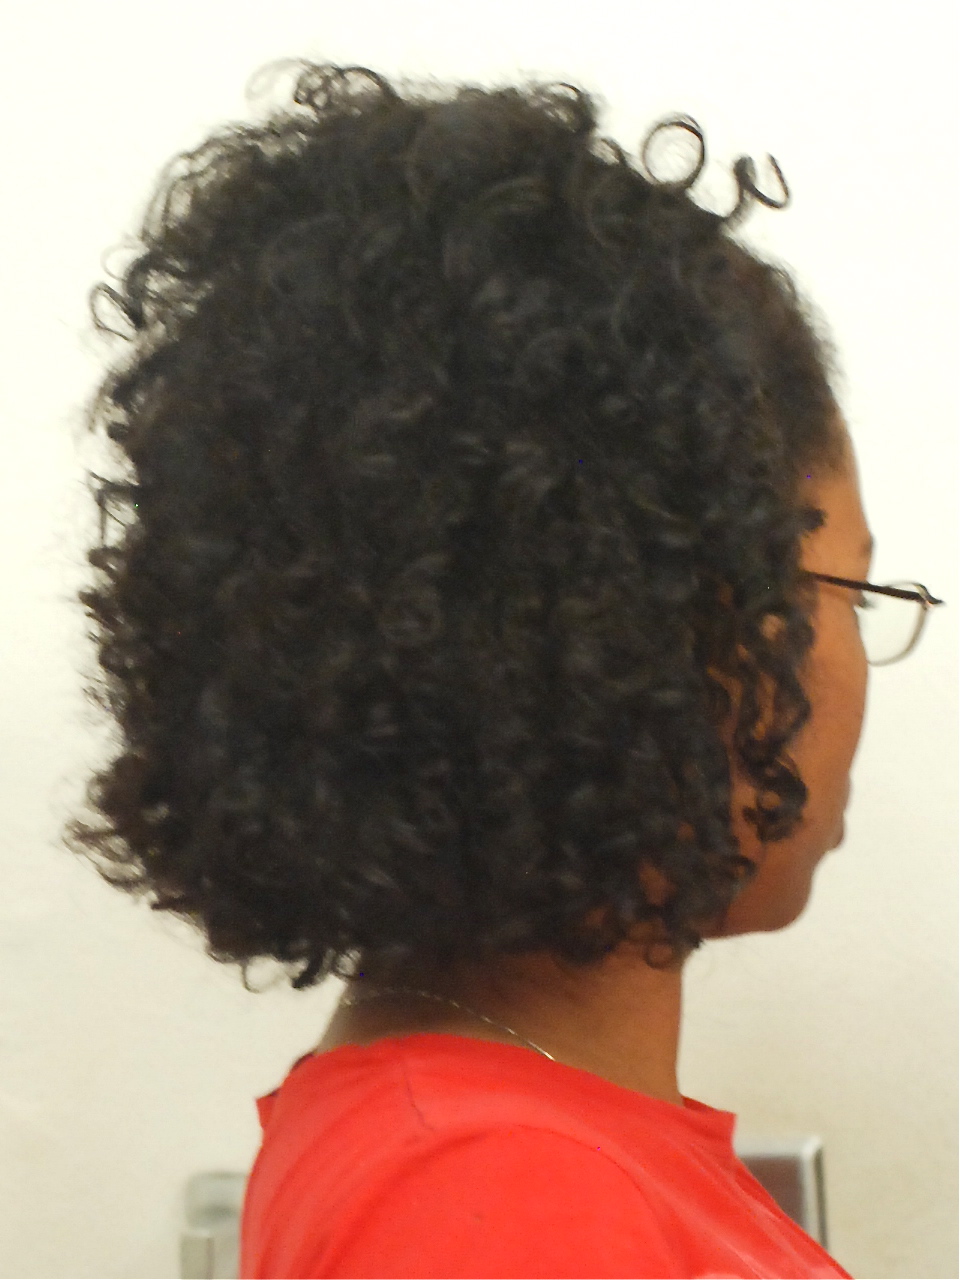
On the way to the concert rockin’ my curly fro-
So excited!

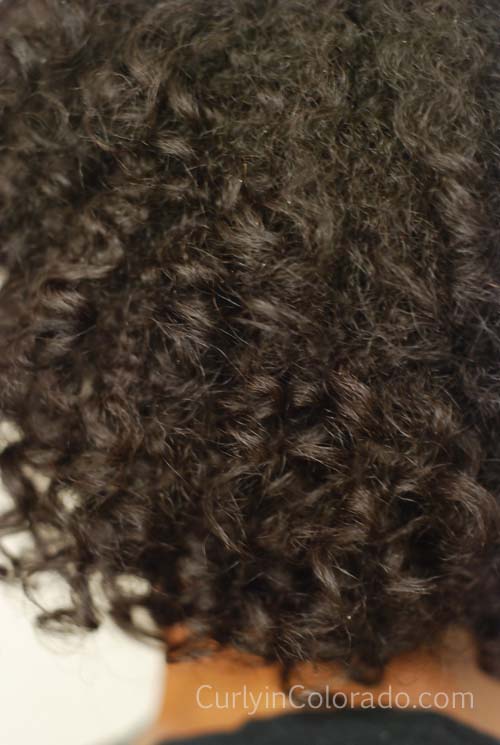
Before applying the products, I co-washed my hair with Suave Naturals in Coconut flavor.  Then, with my hair still dripping wet, I applied the Tresemme conditioner in sections. After that, I used very little of the gel on each of the sections and wet the hair before raking it through.  I noticed some crazy curl definition right away which usually means tons of shrinkage.  This was what I was going for though and was happy with the final result.  The next day (the morning of the concert) I re-wet my hair to reactive the curls.  I ended up with a coily afro that was a lot of fun to wear.

At the concert there was plenty of wind and rain throughout but I didn’t have a care in the world because my curly fro held up just fine.  Which left me with plenty of headspace for remembering all the words to, “Heart’s a Mess” and “Save Me,” my two favorite Gotye songs.

Waiting for the show to begin
Red Rocks all around

Re-Visiting My Caruso Steam Rollers

Using Caruso Steam Rollers on
my Straight Natural Hair

I recently wore my hair straight a few times and decided that rollers were the only thing that really gave me the curls I desired.  Overnight I used my Satin Rollers which I originally picked up at Walmart.  Sometimes though, I went to sleep protecting my hair only with a satin bonnet and woke up with hair that was just blah.  It was then that I remembered the Caruso Roller set that I practically begged my husband for over a year ago.  When I first got my Caruso, I remember that it was a little awkward working with the steam and rollers.  I’ve used it several times since then and it is a lot easier to use now.

How I use the Caruso Steam Rollers

Since I’ve always used it on hair that was straightened or previously stretched with rollers, I used to worry about reversion.  I think the only time this actually happened is when I left the rollers on the steam base way too long.  Soggy rollers on natural hair = reversion.   For this reason, I only place the rollers onto the steam base for seven seconds before promptly rolling the hair.  I also make sure that my end paper is already wrapped around the ends of the section of hair I’m working with.

The steam base
The Results
soft curls with no reversion

Another factor is there is always the possibility for frizz when using the rollers because of the added steam.  Using end papers helps to keep my ends smooth.  A light serum or coconut oil also helps to combat frizz.  The last thing I do is leave the rollers in for about 30 to 40 minutes to ensure the hair is completely dry before taking the rollers down.

In my opinion, the best way to style the curls is to use your fingers because brushing or combing will just result in poof (and we don’t want poof).  Using the Caruso Rollers can be tricky at first but they are a great alternative to styling the hair with direct heat.

Review: Hollywood Beauty’s Olive Creme for Dry Hair

One of the most popular topics over at the K.I.S.S. hair forum (or any forum for that matter) is which moisturizer works best.  For a long time the word “moisturizer” was a bad word in my newly natural regimen.  I had become accustomed to avoiding products that contained mineral oil and petroleum which is often found in “moisturizers” for curly, relaxed and afro textured hair.  Still, the homemade spritzes and butters I learned how to make were either too heavy or too wet for my hair depending on the style.  For a while I started using leave-in conditioner to moisturize and sealed that with one of my favorite oils.

Finally, I decided to purchase a product to add to my regimen after reading a suggestion in one of the discussions on K.I.S.S. .  That product was by Hollywood Beauty which I have to admit was never a brand I thought of ever trying.  I guess I assumed that there would be a lot of the “no-no” ingredients in their products.  I was surprised to find that their Olive Creme was mineral oil and petroleum free.  Instead I found ingredients like, Olive oil and Calendula extract.  I decided at $4 (USD) it was at least worth a try.  I’m on my fifth jar now and can’t say enough about it.

The Ingredients:

Deionized Water (Aqua) , Isopropyl Myristate , Glycine Soja Oil (Soybean) , Olea Europaea Fruit Oil (Olive) , Stearic Acid , Stearyl Alcohol , Glyceryl Stearate , Vitamin E (Tocopheryl Acetate) , Matricaria Extract (Chamomilla Recutita) , Calendula Extract (Calendula Officinalis Flower) , Vitamin B (Yeast Extract) , Macademia Oil (Macademia Ternifolia Seed) , Vitamin A (Retinyl Palmitate) , Coconut Oil (Cocos Nucifera) , Rosemary Extract (Rosmarinus Officinalis Leaf) , Sage Extract (Salvia Officinalis Leaf) , Vitamin C (Ascorbic Acid) , Great Burdock Extract (Arctium Lappa Root) , Triethanolamine , Methyl Paraben , Propyl Paraben , DMDM Hydantoin , Imidazolidinyl Urea , Fragrance , Yellow #5 (Cl 19140) , Blue #1 (Cl 42090)

My son likes to call it, “Yoda Creme” because
of the pale green color

While the ingredients are not 100% natural, I still find that this product does a good job of keeping my hair moisturized without leaving a heavy, greasy feeling.  I’m not gonna lie, I didn’t really expect much from the Olive Creme but it is now one of my staples.  It even works well when my son’s curly (3b/3c/4a) hair is starting to get the, “frizzy halo”.  I just spritz his hair down with water first and then apply the creme throughout his hair and we get another two days of soft curls before wash day.  He dubbed it “Yoda Creme” because of the pale green color and we still call it that.  


I of course love to add it to my Argan Oil Eco Styler Gel along with some Castor, Coconut and Grapeseed oil for my DIY Eco Styler Custard.  I also use it after applying my leave-in conditoner when I pull my hair back or braid it up for air drying.  The only thing I would complain about is the scent.  It’s not like some of those other products out there that smell good enough to eat.   It just has this faint, old fashioned women’s cologne smell or something.  It doesn’t matter because I just ignore the scent.  I can always add some fragrance oil to it to make it my own.  I’m just glad to have found a product that works well and is affordable for me and my family.

Braid Out Using Eco Styler Custard

Corkscrew Braidout using
DIY Eco Styler Custard

When I discovered how well my little recipe for Eco Styler Custard worked for my wash n’ go, I never really thought of using it any other way.  This was until I recently revisited my Corkscrew Braidout method for an easy no heat style.  That’s when I decided it was time to put the custard to the test.

Normally when I do the braidout I start with stretched hair so that I’ll have more length and bounce.  This means pulling my hair back and letting it airdry for one whole day before starting the braids.  I just didn’t want to be bothered with all that this time so I did the style on damp hair right after I washed, conditioned and detangled.

I pretty much followed the same Corkscrew Braidout method I used in the video (link below).  However, this time I decided to use Paul Mitchell’s The Conditioner for my leave-in.  Then I applied the custard to each section of my hair before braiding and curling the ends.  I didn’t worry about sealing my hair with oil because the custard mixture already has castor, coconut and grapeseed oil in it.  I also switched to smaller grey perm rods because they give me more of a spiral effect than the medium size rollers.

Check out my YouTube Video for the 

The back

I was really surprised with the results.  My hair was very soft to the touch and moisturized.  I’ve been wearing the style for three whole days without applying any other products.  I haven’t seen any weird product build-up and it still feels pretty soft.  I re-braided a few sections that started to look a little fuzzy at the end of day two.  This was because I just slept on it as is one night.  Otherwise, I’ve just been pineappling my hair at night to help keep the curls in tact.

Small grey rods to roll the ends vs. the larger pink rods
both from Sally’s

I’m really thinking about wearing my hair like this more often.  I get to have the big, curly hair I love while keeping my hair stretched.  The bonus is that my ends stay smooth which means fewer single strand knots.  It’s a win, win if you ask me.


3 days later still lots of curls and softness

Saying Goodbye to Heat Damage

In the last couple of videos that I posted to YouTube, I discussed my straight, heat damaged bangs and how I styled them so that they would blend in with the rest of my hair.  Shortly after posting those I started a six week Wash n’ Go binge and wore my hair curly the whole time.  For a while I was fine with pushing the straight pieces back or braiding the hair into a headband.  During this time I was also reading the Curly Girl Handbook by Lorraine Massey and learning more about my curls and how to work with them.  I kept looking at my damaged hair and wondered, why was I holding on to the straight pieces?

Using small perm rods to camouflage the straight pieces

After much contemplation, I finally decided to break out the shears.  I already knew that I had curly bangs in my future so why not just get on with it?  First, I wet the hair that I sectioned off for the cut.  This made it easier to tell where the textured hair met the straight ends.  Then I placed a long metal clip across that line of demarcation and cut.  I thought that would do it but the straight pieces were still another inch into the length of my bangs so I snipped again.  I was surprised to see a small, one inch section where my hair was just blah; not really curly or straight.  The rest of the bang was curling up the way I expected.  I ended up with a Betty Paige style look which for me was just fine.

AFTER
Short Bangs
BEFORE
Straight Pieces in Front

It’s been about a month and a half since the mini chop and I have to say that for the most part, the bangs are fine by me.  The curls are in good shape even after wearing my hair straight a couple of times.  I refuse to use my flat iron on that area because the 400 degree temperature is just too much.  Instead I use my Gold n’ Hot Curling Iron which only gets up to 300 at best.  I’m also liking the Paul Mitchell Super Skinny for my heat protectant these days.

I do wish the bangs were a teensy bit longer though so that it would be easier to braid them down into a cute headband.  Of course this is possible with a little help from my Eco Styler gel.  I’m also realizing that I won’t be able to slick all of my hair back for awhile.  For now though, I’m just enjoying the new look and loving the curls.

Used a metal clip to section off bangs
Bye Bye Heat Damage
Bangs before cutting a bit more
Check out my post on how I treated my Heat Damaged Hair