Updated Hair Regimen and Products List

I was looking through my blog the other day and noticed that I still had my old regimen from Fall of 2010 up.  There were lots of products listed that I haven’t used in ages so I figured it was time to update it.  Here is my current regimen and products list.  I may make some changes (I always do) but this is what is working for me right now.

NOTE: where products are bulleted I just use one of the items listed

Pre-Cleanse

I part my hair in 4 sections and apply conditioner prior to cleansing with shampoo or conditioner.  This helps to stretch out my shrunken hair and remove any shed hairs.  This step also helps with detangling.

Shampoo-1-2 times per week
  • Elasta QP Creme Conditioning Shampoo 
  • TheraNeem Naturals Moisture Therapy Shampoo (sulfate free)
  • KeraCare Dry & Itchy Scalp Anti-Dandruff Moisturizing Shampoo
  • Neutrogena Triple Moisture Cream Lather Shampoo
Co-wash-1-2 times per week
  • Suave Naturals Coconut Conditioner
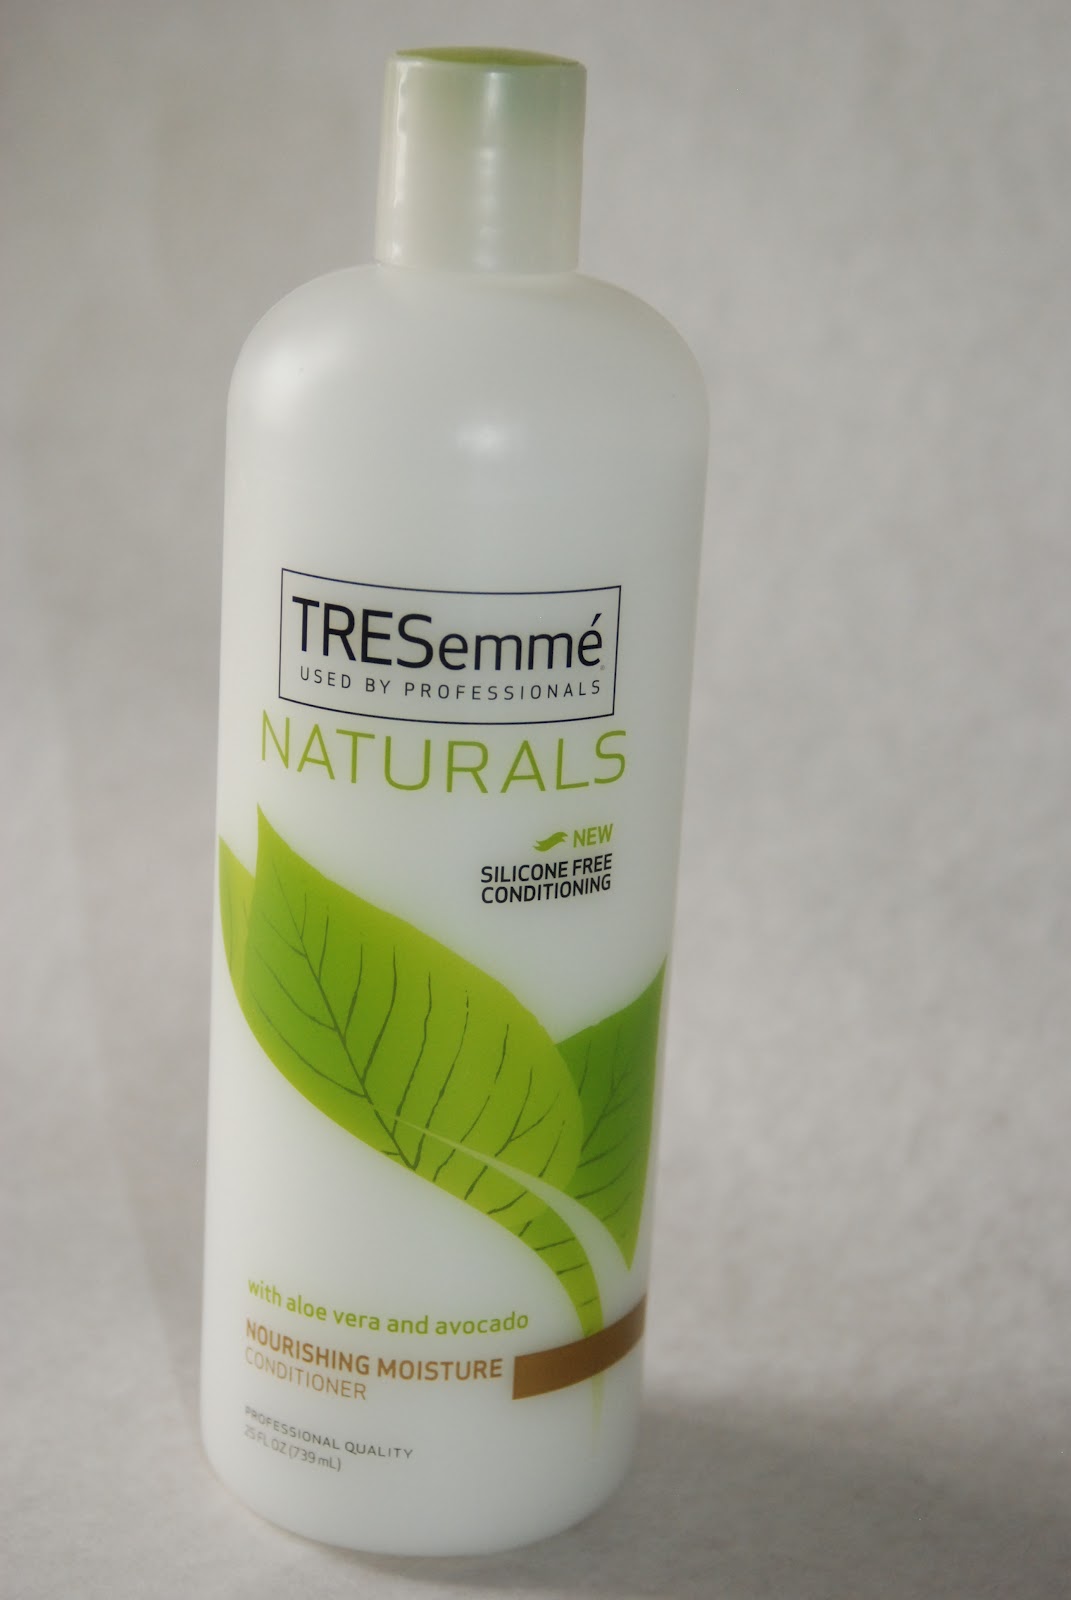
  • Tresemme Naturals Nourishing Moisture Conditioner
Rinses-After Shampoo
  • Oil Rinse-I use grapeseed, olive or coconut oil.  I sometimes do this in place of deep conditioning.  This step also helps with detangling.
  • Apple Cider Vinegar Rinse (ACV)-I do this step after using shampoo to help my hair get back to a normal pH.  I either do the rinse before or after applying conditioner
Detangling Method
I detangle while my hair is soaking wet and saturated with conditioner.  The hair is parted in four sections.  I start by finger combing and then use a denman brush on each section.  I do this 2-3 times per week when wearing wash n’ go’s or once per week if wearing stretched styles.

Deep Conditioning Treatments* 1x per week 
  • Hot Oil Treatment with Coconut, Olive or Grapeseed Oils
  • Tresemme Naturals Nourishing Moisture conditioner with Honey or Olive Oil added
 *I do most of my treatments under a hooded dryer for 40 minutes

Moisturizers*

  • Extra Virgin Coconut Oil
  • Aloe & Veg. Glycerin Spray (homemade)
  • Paul Mitchell “The Conditioner” Leave-in
  • Garnier Fructis Leave-in (for heat styling)
  • Hollywood Beauty Olive Creme
To Seal Ends*
  • Coconut Oil mixed with Castor Oil
  • Olive Oil
  • Shea Butter
  • Grapeseed Oil
*I apply Leave-in conditioner after each wash for moisture.  After that I moisturize when needed.

Curl Definers
  •  Eco Gels-The Pink version and Argan Oil (red)
  • Kinky Curly Curling Custard
  • Curls Unleashed Take Command Curl Defining Creme (trial)

*I always use my Paul Mitchell The Conditioner Leave-in under a curl definer for added softnes and moisture


Styling*

Roller Sets, Curly Braidouts,  Wash n Go’s, Puffs, Buns, Banded Ponytails, Flat Twists, French Braids
*Currently taking a long break from heat styling
Henna-Once every 3 months
I have started doing the 2 step Henna/Indigo process which gives me a natural black tone  


What I add to my Henna mix

  • Green Tea and Water (enough to make it the right consistency)
  • Olive Oil (usually add this right before application)
  • Lemon Juice (when I want more color)

    I sometimes add powder to darken the hair and maintain curls.  For my Indigo mix I only add water and a little salt.  For each step (henna & indigo) I make sure to co-wash after rinsing out.  This helps to keep the hair soft.

    My Sort-a Kind-a Curly Girl Method

    Earlier this summer I mentioned in one of my YouTube videos that I was not a fan of the Curly Girl method (CG) because it seemed to do a number on my scalp.  I have issues with dry scalp off and on throughout the year.  This year it seemed to really flare up when I started this method because of the constant conditioner only washing.  Well, I’m still dealing with it now but have gone back to wearing my hair curly everyday.

    Curls Up-close

    I’m not following the CG method exactly but I just don’t see the point in wearing stretched styles when I know my scalp needs to be cleansed more often.  However, I did learn a few things from Lorraine Massey’s book, Curly Girl, the Handbook

    There is one step that I learned from the book which helps immensely with my new daily washing/co-washing routine.  It’s called a, “pre-cleanse”.  With this step you just apply conditioner or sulfate free shampoo prior to getting in the shower to wash your hair (book version).  I altered this method a little because I prefer to apply loads of cheapie conditioner like Suave’s Naturals Coconut (my staple) instead of the amount suggested.  I do this in sections and it really helps me to pull out shed hairs and tangles.  It also elongates my hair which is usually shrunken up into a tight curly fro from the day before.

    I’m still using sulfate shampoo and my favorite leave-in conditioner (Paul Mitchell’s The Conditioner) which has silicones in the ingredients list.  For this reason I can’t say that I’m abiding by the “rules” outlined in the book.  Sulfates and Silicones are big no-no’s with this method but I make sure to use Apple Cider Vinegar (ACV) rinses to help resolve any issues there.  Not only does the ACV help remove build-up but it also helps my hair to return back to a normal pH after using the shampoo.  This is important because this leaves my hair more manageable by closing the cuticle layer back down.  It also helps with moisture retention.  I love ACV rinses!

    My hair is definitely benefitting from all of the moisture it has been getting.  I have been rockin’ wash n’ gos for six weeks straight and can’t really see myself quitting anytime soon.  I usually do my hair at night so I’m not too worried about having wet hair in the mornings when I head out.  Hopefully I will begin to see tons of growth and length retention in the upcoming months.

    In the Garden

    My family joined a Community Garden in Denver this summer.  We found out about it during our Heirloom Vegetable Plant Sale and decided that it would be a great way to grow some of our own veggies.  Our garden at home is full of perrennials and does not receive full sun so growing vegetables was never successful there.

    My husband is the one who really knows what he’s doing in the garden but after this summer I feel like I’m starting to get the hang of it.  The hardest part was ammending the soil in the very beginning.  Later on I discovered the joys of weed pulling (heavy sarcasm) but things got easier once I got into a rhythm.

    We were hit hard during the draught but our plants made it through.  For me the best part was watching the kids help out with gardening.  They were really excited to see all of the great food we were bringing home.  I’ve been very proud of our little garden plot and have shared our experience with friends and family.  Most recently I wrote a guest post for a friend’s blog about our tomatoes.  When she was in town this summer, I showed her the community garden.  Since then she has started working on starting a community garden in her own neighborhood in Austin, TX.

    Bringing home vegetables every week has forced me to learn a few new things in the kitchen as well.  Hopefully I’ll be sharing some tips in the coming weeks.  For now here are a few pics.
    I’m surprised at how many pumpkins we’ve grown!
    Heirloom Tomatoes on the Vine

     If you’re in the Denver Metro Area, check out Denver Urban Gardens online to get info
    on joining and/or starting a local Community Garden 

    Harvesting veggies each week keeps me busy in the kitchen!
    Mmmm Mmmm

    Tips on How to Define Type 4 Curls

    My hair wet with product

    Sometimes I feel like I should be crowned the Wash n’ Go queen by now after all of the products and techniques I’ve experimented with to achieve the curly look.  Washing my hair and just heading out the door is never the case.  I have curls but they are “type 4” curls.  Yes, I’m talking about the hair typing system.  It’s not my favorite way to categorize my hair but hopefully it will give others a way to gage whether my techinques will work for them.

    My curls are tight corkscrew coils, lazy “s” shapes and everything in between.  I even have a section that laughs at the idea of curl definition.  Oh and let’s not forget about the shrinkage.  I would say mine can be up to 75% but it depends on the day.

    In order to get my curls to pop, there are certain things that I must do in order to get the definition I want.  Just so you know, I’m usually looking for hair that will last me a few days without feeling drastically dry and brittle.  I’m still looking for a softer hold solution but at least I’ve got the curl definition part down.

    Here are some things that I have learned when styling my own hair

    My hair freshly washed and detangled
    using a denman brush.
    Dry with no product

    1.  Start with clean hair

    For some this may mean co-washing; for others, shampoo.  I’ve noticed that I really do get the best results after cleansing my hair.  Otherwise, I end up with so-so results.

    2.  Detangle, detangle, detangle

    There are times where I skip this step and I always pay for it.  Not only does this cut help to cut down on the time it takes to apply the products but the hair is also way easier to work with.  Whether you’re shingling, raking or combing product through remember to start with detangled hair.

    3.  Make sure hair is soaking wet

    When my hair begins to dry, all of those pretty little curls go poof!  Any curl defining product out there is really just a way to lock your curls into place.  My hair is at it’s curliest when it’s dripping wet so I start with that.  When sections begin to dry, I make sure to keep a spray bottle handy so I can wake those curls back up.

    4.  Work in small sections

    We’ve all seen the videos where someone takes a quarter size amount of product and applies it to all of their waist length hair and voila; curl definition.  Not for our hair texture!  It’s best to keep the sections as small as possible so that each and every little curl can get enough product from root to tip.  Sometimes, big hair is desirable but if you want every curl accounted for, using smaller sections is the way to go.

    I get lots of curl definition using product
    on wet hair

    5.  Smooth those ends

    After I have completely raked the product through a section, I always go over my ends, using my fingers, to smooth them out.  This will ensure that the curl lays flatter and discourages those stubborn single strand knots.

    6.  Once the products are all in, LEAVE IT ALONE!

    This is a biggie.  I’ve done it myself more times than I can count.  Still, you’ve got to leave your wet hair be until you’ve got that, dried “cast” that tells you it’s okay to touch your curls.  Even if you choose to diffuse, remember not to handle your hair with your fingers because this will cause lots of unwanted frizz.  Simply tilt your head and let your curls drop into the diffuser so that it can do its’ thing.

     I hope these tips will help someone out there.  I sure wish I would have known all of this long ago when I first went natural.  Still, I’m pretty happy with my coily creations and that’s all that matters.

    Review: Clear Scalp & Hair Therapy-Ultra Shea Shampoo

    At the beginning of the summer I was sent some products for review.  When I agreed to give my feedback,  I was not aware of which products I would be receiving in the mail.  I was very happy to see that they were from the new Clear Scalp & Hair Therapy line.  I saw this line in stores and was wondering if the products would work for my scalp.

    I have scalp psoriasis which tends to show up during the drier months (usually wintertime).  For some reason though, I started seeing a lot of flaking and irritation in the spring when I was on the tail end of my Curly Girl Method trial.  When the products arrived in the mail I was primed and ready for something to relieve me of my scalp woes.  I’ll do the review in two parts for the shampoo and conditioner.  The other products were not used for long enough to make a difference in my scalps’ condition therefore I do not have an opinion on them.

    Ultra Shea Cleanse & Nourish Shampoo

    Ingredients

    Water (Aqua), Sodium Laureth Sulfate, Cocamidopropyl Betaine, Dimethiconol, Glycol Distearate, Sodium Chloride, Fragrance, Carbomer, Dimethicone, Sodium Lauroyl Isethionate, Zinc Pyrithione, Helianthus Annuus (Sunflower) Seed Oil, DMDM Hydantoin, Guar Hydroxypropyltrimonium Chloride, Stearic Acid, Citric Acid, Tallow Acid or Palmitic Acid, Zinc Sulfate, TEA Dodecylbenzenesulfonate, Sodium Isethionate, Poloxamer 407, Laureth 23, Laureth 4, Butyrospermum Parkii (Shea Butter), Triticum Vulgare (Wheat) Germ Oil, Tocopheryl Acetate, Prunus Amygdalus Dulcis (Sweet Almond) Oil, PEG 9M, Hydrogenated Coconut Oil, Glycine Soja (Soybean) Oil, Elaeis Guineenis (Palm) Oil, Argania Spinosa Kernel Oil, Xanthan Gum, Aloe Barbadensis Leaf Juice, Methylisothiazolinone, Methylchloroisothiazolinone, Mica (CI 77019), Bismuth Oxychloride (CI 77163), Titanium Dioxide (CI 77891), Iron Oxides (CI 77491)  

    Claims

    • Proven to lock in moisture and provide long lasting nourishment for extra dry scalps
    • Gently cleanses to remove product build-up and allow scalp to breathe
    • Formulated with Nutrium 10™ Moisture Lock system, a rich blend of shea butter and natural oils, including vitamin E, sunflower, coconut, almond, soybean, argan, and palm


    Upon first use I felt that the shampoo was heavenly.  The sulfate gave it a very rich, velvety lather.  My hair did not feel stripped like with other sulfate shampoos.  The sweet almond and vanilla scent reminded me of the Suave Professionals Almond and Shea products.  It did not linger on the hair although it was very fragrant while shampooing.  My initial reaction was that I would definitely think to use this product again whenever I needed to cleanse my hair and scalp.  After several washes, all weeks apart, I realized that the product was not doing anything to help with my itchy, flaky scalp.  My husband also has dry scalp but not to the same degree as my psoriasis.  He stated that he did notice some improvement while using the shampoo.  This led me to believe that the product may work for those who have mild scalp irritations.  Something like scalp psoriasis may require something stronger and more effective in treating scalp conditions.  

    Overall, I do consider this a shampoo that works well with thicker textured hair like mine.  However, I did not notice any improvement with my dry scalp.   I am currently using milder shampoos that also provide cleansing without stripping.  I do not feel as if I will be purchasing this product in the future only because of the sulfate and silicones present in the ingredients list.