Roller Setting Natural Hair-What I Have Learned

Roller setting any hair type is a tricky business.  Still, you can achieve smooth results using rollers on natural hair.  Once you get the technique down you can get salon quality hair at home.  

Here are some things I’ve learned about roller setting my natural hair.
1. Taking the hair down while it’s still damp (not completely dry) will result in frizz.  
I have done this so many times so I know this to be true.  Sometimes the frizziness actually adds to the style though if your going for a bigger look.  However if it’s sleek and smooth you want, you gotta leave the rollers in until completely dry.
2. For bouncy hair use as little product as possible. 
I use a good leave in, maybe a dime size of heat protectant and then just water to re-wet each section when I want a soft, bouncy set.  Setting lotion is also an option if I want more hold and is usually not too heavy.
3. Using oils may extend the drying time
I learned this one the hard way one night after rolling my hair while it still had some oils in it from my deep conditioning treatment.  I sat under the dryer for 2 hours and it still wasn’t dry!  I ended up having to sleep on the rollers until morning…ouch!
5. Use a good leave-in conditioner
Since natural hair has so much texture I’ve found that smoothing each section with the rat tail comb or Denman Brush is much easier when I apply a good leave-in.  My favorites are Garnier Fructis and Kinky Curly Knot Today because they give lots of slip.
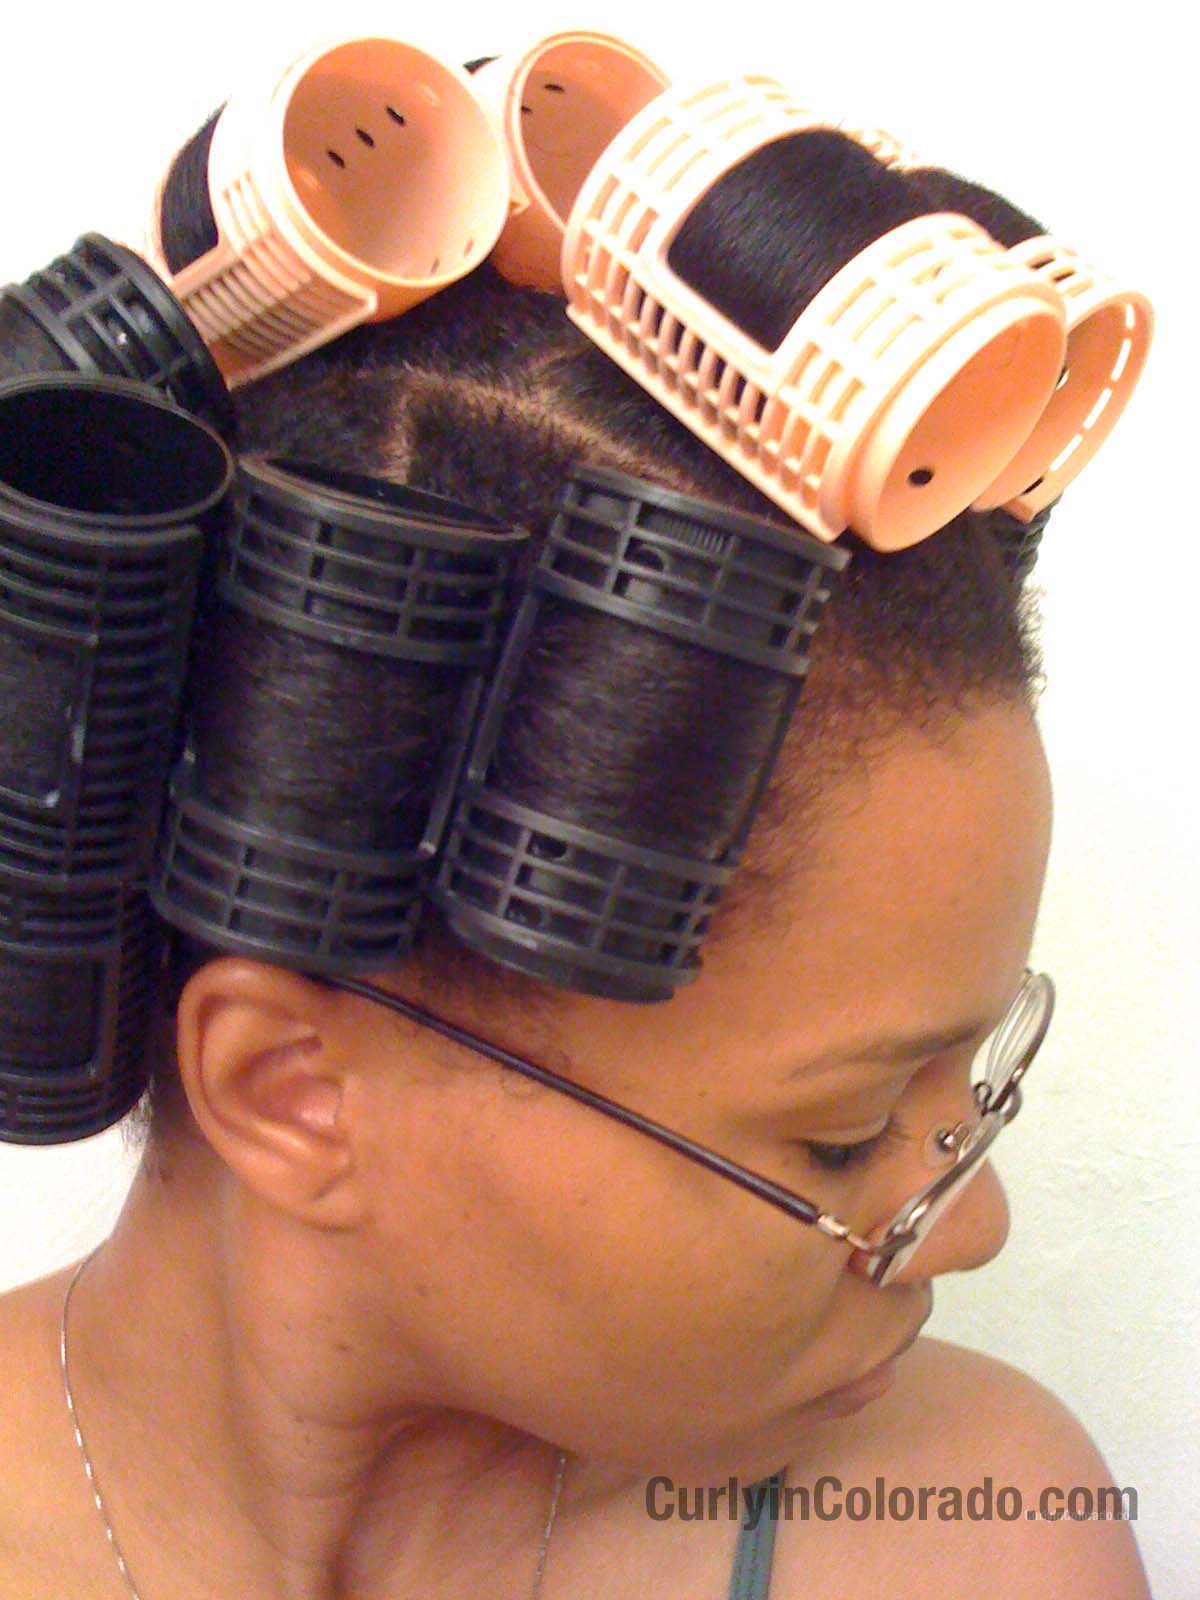
6. Stick with rollers that are the right size for your hair length
Using rollers that are too large for your length can make rolling the hair more awkward.  
7. Don’t put too much hair on the roller.
If the parted section is wider than the roller, the hair may slip off of the roller from the sides leaving some puffy strands.  Also, putting too much hair on to one roller can result in longer drying times and semi-smooth results.
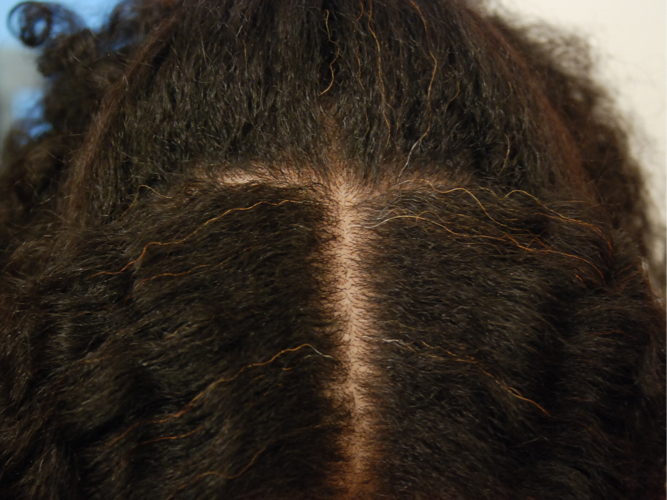
8. Ponytail Roller set = smooth roots
If I’m going for a curly look I don’t even worry about the roots.  It’s when I want a more straight look where the smoother roots come in handy.  You can always whip out the flat iron for this but using ponytail holders to smooth the roots works too.  There are plenty of discussions online and YouTube videos on this technique. 

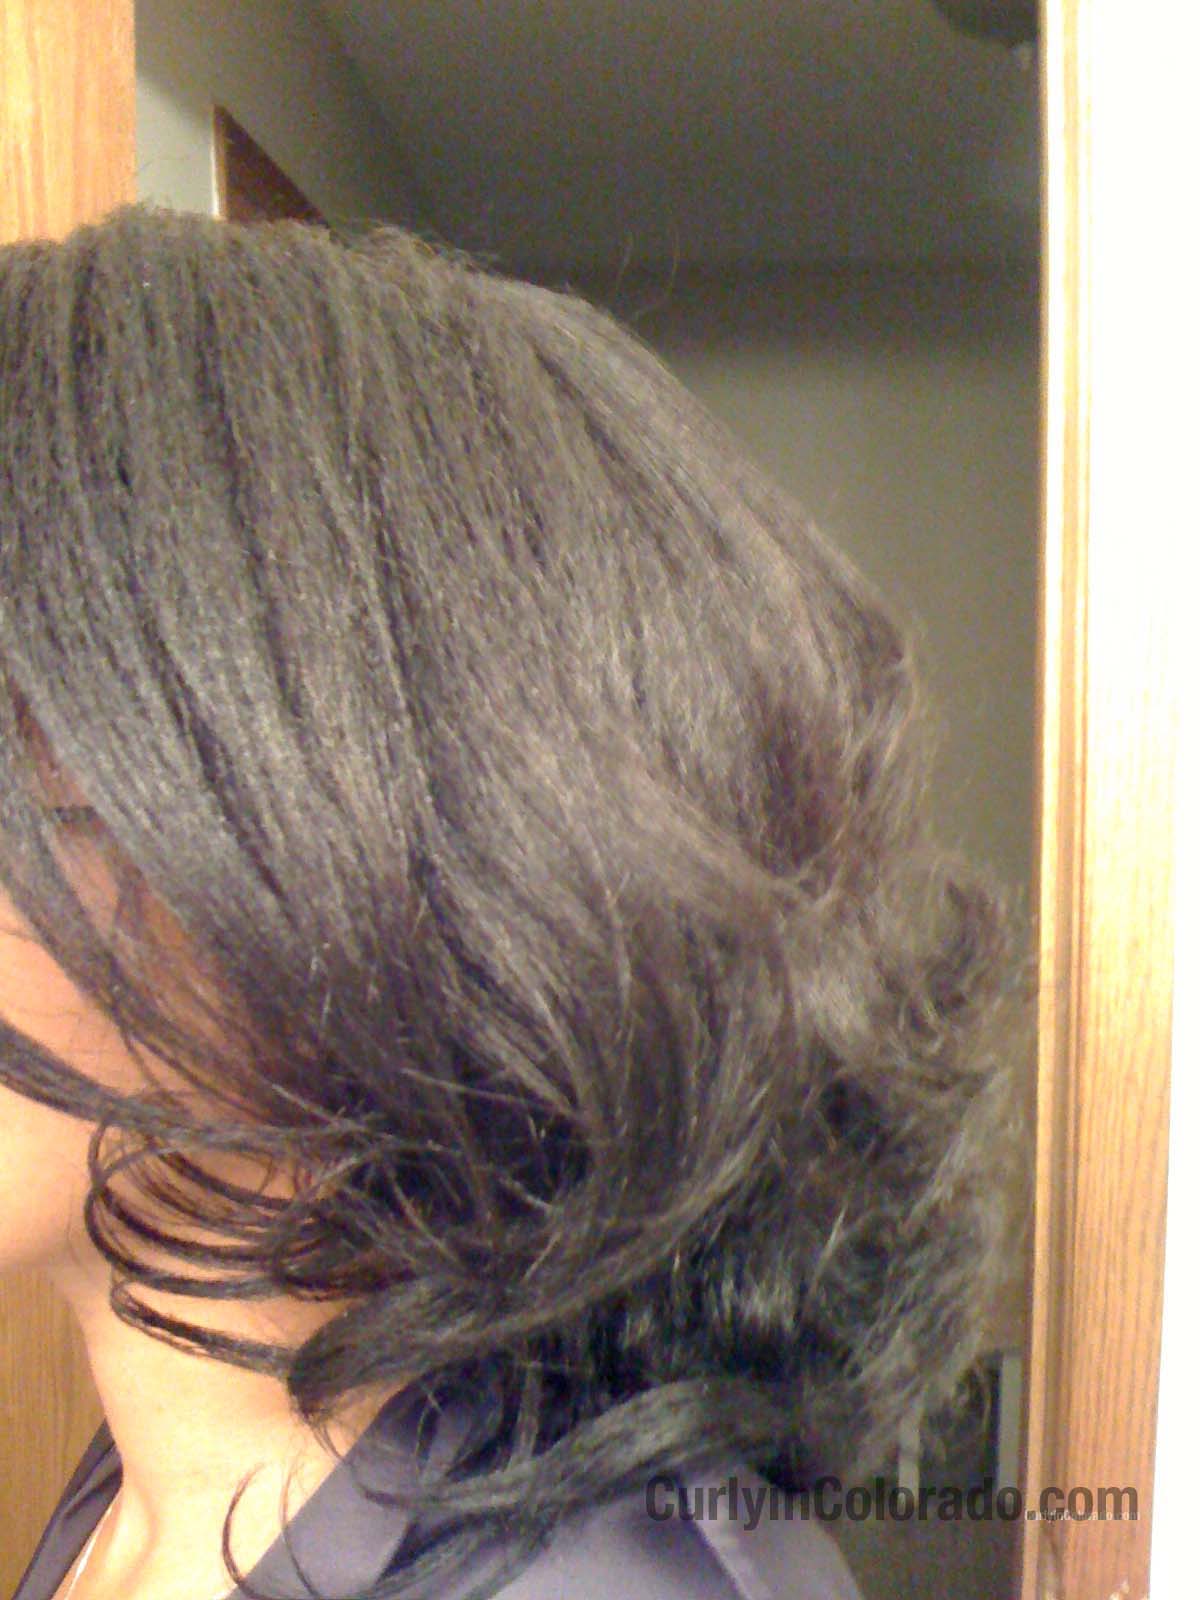
My hair after a Ponytail Roller Set and Silk Wrap


Ponytail Roller Set on Natural Hair

Recently, I have tried my hand at roller setting my hair again and I absolutely love it.  This was a staple style for me when I was transitioning because it was a way to blend my roots with the straight ends.  I’m not a huge fan of sitting under the dryer though so I stopped doing it so often and only pulled the rollers out for special occasions.  Since I’ve been reviewing the whole flat iron thing I realized that using direct heat on my hair is actually doing more harm than good.  I can get smooth results with the rollers and save my hair the damage from straightening with heat.  
There was still one thing though.  Whenever I did a roller set it took forever in a day to get all of the rollers in and I would end up with puffy roots.  Well, there’s a little cheat called the, “Ponytail Roller Set,” where you use ponytail sections to smooth the roots.  I still sectioned my hair with the mohawk down the middle and two side sections.  So there were 4 ponytails down the middle and 3 on either side.  I used mini Ouchless bands which worked well because they slid out pretty easily.  Then I only had to use two large rollers per ponytail.  I was so happy that it took a lot less time to get all of the rollers in and even more so that I could actually comb through my roots.  That night I even did my very first successful Saran Wrap/Silk Wrap.  This is when you wrap the hair after the roller set to smooth it for a more straight look.  My results were so nice that I’ve decided, from now on, I’m going to use my rollers when I want to wear it straight.  I’m okay with using the flat iron on my roots every once in awhile but there really is no need to put that kind of stress on my ends each time.  Here are some pics of how it turned out.

Top View

Back and Side

Roots turned out smooth

The setting lotion I used

Results from the Saran Wrap/Silk Wrap


Knitting Season

Almost finished knitting up my scarf

During the warmer months I don’t tend to think very much about knitting.  For me, I always reach for my yarn when the first sign of fall hits.  As always, I have a long list of projects on my brain especially this close to Christmas.  Let’s face it though, my dream of knitting everyone in the family a hat and scarf set is probably not gonna happen at this point.

My Crocheted Beret
Completed last year

For right now, I’m finishing up a replacement scarf for myself with a neat little yarn I picked up at an estate sale a couple of years ago.  Once that’s done, I’m moving onto knitting Harry Potter themed scarves* for my kids.  The twins are in first grade so I can get away with knitting something a little shorter in length but I’m sure my oldest would like his full scale.  His will be in the colors of Slytherin house.  I guess my Griffindor scarf will have to wait until after the holidays because I’ll be really busy until then.

This leaves me with very little time to knit or crochet up a nice beanie for when my hair is still in braids on cold mornings.  Whenever I do a braid out my hair is sometimes not completely dry until the afternoon.  For this reason I just keep it braided up while I take the kids to school.  For now, I’m using the beret I crocheted last year but I want to change it up a bit.  Also, it would be nice if I could just wear french braids as a protective style under a cute beanie a few days each week until I reach my goal length.  I’m really pushing for APL (still!) by New Year’s but I’ve got to start wearing my hair up more.

Up Close

Luckily, I just found out about a good deal on crocheted beanies at Forever21.com from NaturallyObsessed.net (natural hair blog by Kinky Curly Queen of YouTube fame).  She mentioned that some hats on the site were priced as low as $5.50 so I’m gonna jump on it before they’re gone.  As far as crafting goes, it looks like it’ll be a cup of tea, a movie and some knitting needles every night until the holidays if I want to get those scarves in.  Happy Crafting!

* CLICK HERE If you want to find out more on How to Knit a Harry Potter Scarf

Henna and Indigo Results

I finally got around to ordering my indigo so that I could cover my burgundy hair color with something a little more modest.  I’m sure the bright red henna’d hair I had before is appealing to some but it was not my cup of tea.  I wasn’t quite ready for the lengthy two step process where you henna first, rinse out and then apply indigo for a jet black result.  Instead, I mixed one package of Godrej Nupur Henna (50g) with 100 grams indigo.  I ordered the indigo powder from Butters-n-Bars.com which is the same online store where I get my raw unrefined shea butter.

I kept the henna mix pretty simple as always and just mixed it with a mug of strong green tea to help the dye release.  I added enough water to give the mixture a smooth, almost pancake batter consistency and let it sit overnight.  The next day, when I was ready to apply it, I mixed the indigo into a paste with just plain water and added it to the henna.  I don’t add oils anymore because I read that it can slow the dyeing process.  I applied the “Hendigo” to my hair like a clay mask and covered with plastic wrap.  Then I waited for four hours before rinsing and then co-washing several times to get it all out of my hair.

The application took very well to the majority of my hair but left my grey strands with just a tinge of color.  I’m planning on doing another application to the roots and grey hairs sometime this week ’cause I don’t need everybody knowin’ how old I’m getting.  If my greys are still too obvious afterward I may reconsider dyeing my hair all black with the two step process.

My stubborn grey strands are still noticeable 
I like the reddish brown tone in the sun

Review: Garnier Fructis Sleek & Shine Leave-In

New version vs. the old
Now has Argan Oil

Early on in my Hair Journey, I heard a lot about this product in the online Natural Community.  I decided to try the leave-in conditioner by Garnier Fructis because I liked the fact that it had a creamy consistency.  The spray formulas I used before just did not seem to work as well on my natural hair.  For a long time this product was my go-to leave-in on days when I did a roller set or straightened my hair because it gave my hair a lot of slip.  A few months after doing the BC, I started learning about silicones and how they can cause build-up that is only washed away by using a shampoo with sulfates in it.  At the time, I was trying my best to stay away from sulfates so I decided to stop using this product but still kept it in my product bin.  You know the one I’m talkin’ about. . . that bin that holds all of those un-used products until you get around to using them again or trading with someone else.

Later, I went back to the product (saved from the bin!) after I found more information on silicones and how some are heavier than others.  The only silicone in this product is amodimethicone which is a light silicone that is actually considered (by some) water soluble because of the way it reacts with water.  Since I now like to use a clarifying shampoo to get rid of build-up occasionally, I know that this ingredient is not going to cause any problems for me.

Now, on to the product review.  Like I said earlier, the product has a light, creamy consistency.  It has a citrus scent with apricot which is pleasant and not overpowering.  Garnier Fructis recently introduced a new formula that includes Argan Oil which is a plus.  I would say the new and old forumulas have the same scent but the new one does seem to be a tad richer in consistency.  I tend to lean towards products that are affordable and easily accessible so this one fits the bill on both counts.  You can find it at Target, Walmart, Grocery and Drug Stores for about $5.00 USD.  This is one of those products where a little goes a long way.  I use it on wet hair as a moisturizer and then I seal it in with my Olive Oil/Coconut Oil mix before stretching my hair with braids or a bun.

Claims to give lasting smoothness and
frizz control

To apply it, I part my hair down the middle (front to back) and apply about a quarter size amount (sometimes more) to each side.  The product tends to last me a long time this way.  I like to use it when I blow dry my hair with the comb attachment because it has a lot of slip.  Using this also makes a big difference for those times when I want to pull my hair into a bun using my denman brush. . . believe me!  Please note that it does not play nice with Eco Styler or IC Fantasia gels (white flake reaction alert!).  For this reason, I use my Suave Naturals in Coconut flavor when I do wash n go’s with gel.

The product claims that it can provide, “Intense smoothing for long-lasting frizz control & shine”.  In my experience, I believe that it does give my hair a lot more manageability than when I style with another product.   I’m always surprised at how easy it is to smooth the product through my hair.  This is helpful when I’m trying to avoid frizzy hair because I don’t have to manipulate my strands very much to apply it.  Overall, I think it is a great product for natural hair because it adds moisture to the hair while also making the hair more pliable.  It gets a two thumbs up and is a staple that I will not do without.