The Beauty Supply Warehouse

The Big B.S.S.

Whenever I’m watching YouTube videos and there is a product suggestion I’m always certain I’ll be able to get my hands on it.  I go to Ulta for anything high end or the Big B.S.S. (beauty supply store) in Aurora for everything else.  If you’re in Denver or Aurora, Colorado this place is a must see!

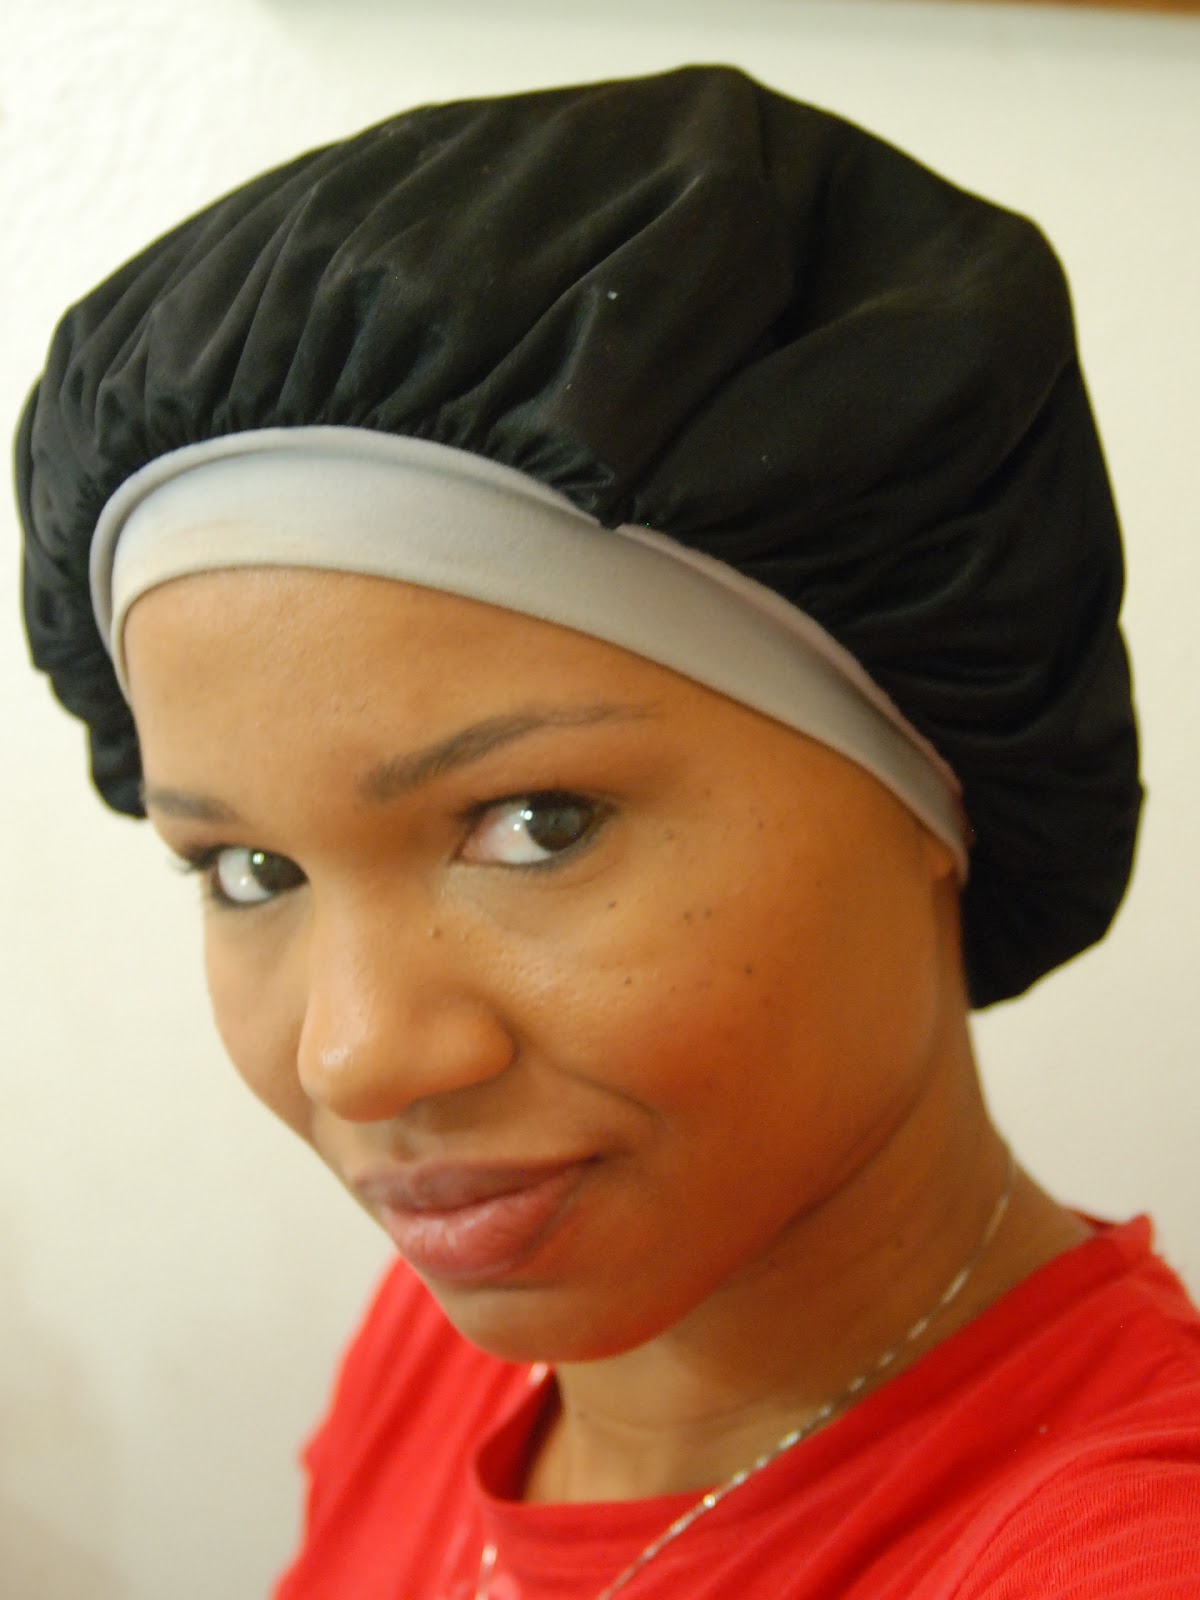
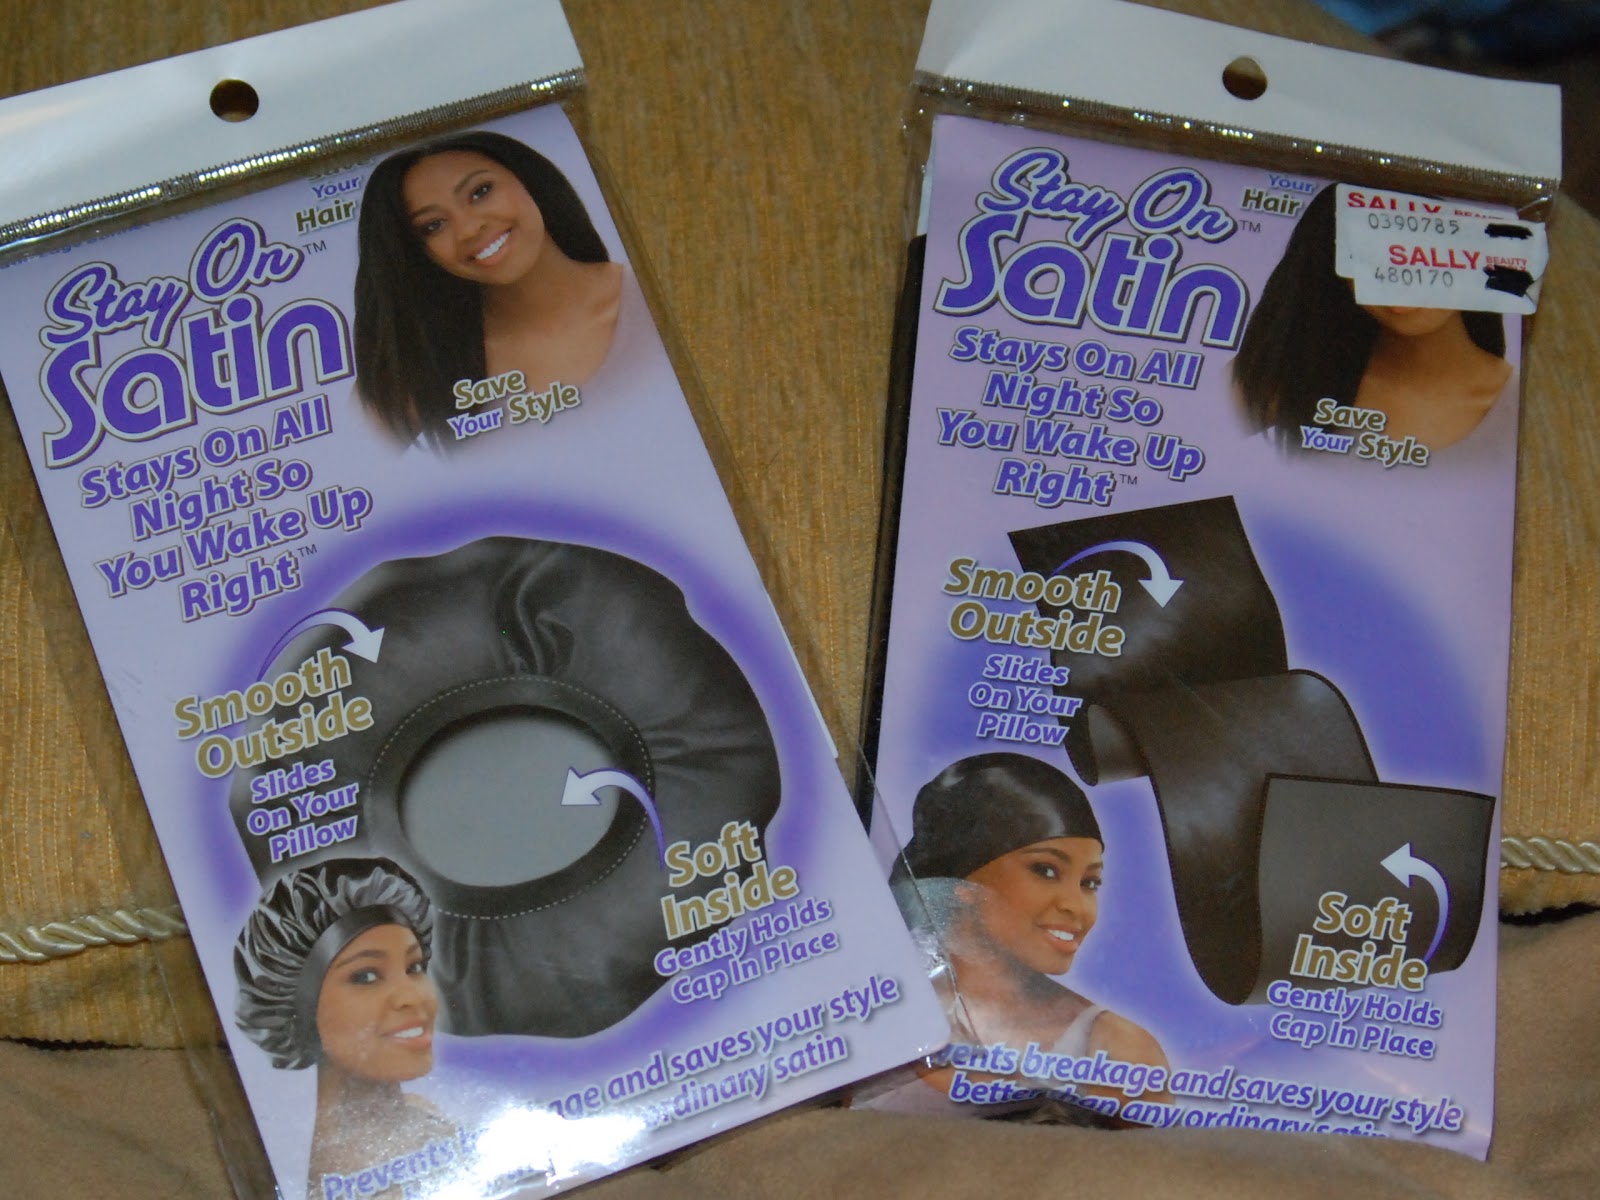
The official name is the Beauty Supply Warehouse and it is located near the intersection of 6th and Potomac just off highway 225.  It used to be the old Skate City from my younger days but is now home to all things hair.  This place doesn’t just carry a lot of different brands but in most cases they have the complete line.  Items from Palmer’s, Mane n’ Tail, Mizani, Hawaiian Silky, Aphogee, IC Fantasia and many more.  I’m not kiddin’.  The first time I went in there I didn’t even know what to do with myself.  Sadly, there are a lot of products there that contain silicone, mineral oils and petroleum.  You know the products I’m talking about; the ones that say they’re for ethnic hair.  Still, I love the selection of Annie’s rollers, hair accessories, satin head coverings and synthetic hair.  Yes, I said hair!  If you are looking for half wigs, lacefronts or hair for braiding you should definitely stop in.  (Even if you just want to get a look at a product before buying online.)

Aisles and Aisles of Hair Products!

There is also a salon inside and usually a vendor or two.  I haven’t looked into having any hair or nail services done there because I’m a DIYer to the core.  The stylists and nail artists always seem to be pretty busy though.

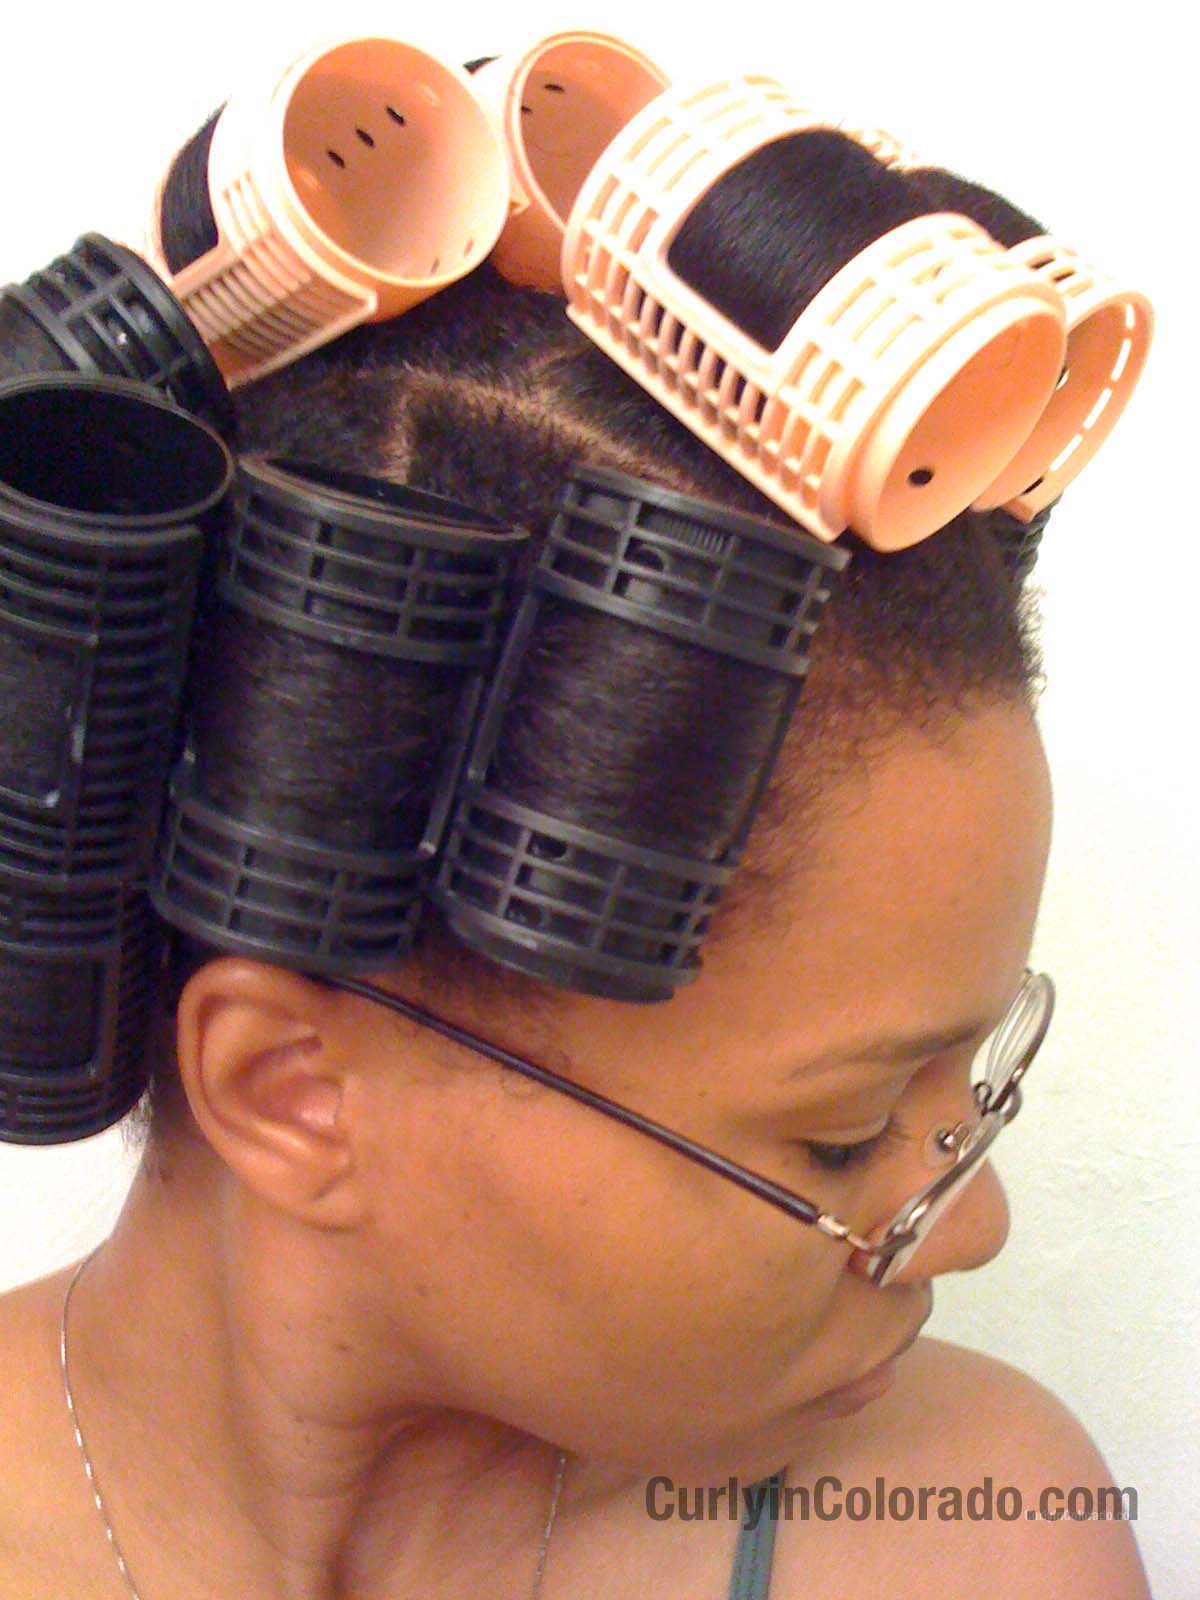
Rollers and Kanekalon Braiding Hair

When I stop in I usually grab my favorite shampoo by Elasta QP, rollers, Olive Creme Moisturizer by Hollywood Beauty and my Cholesterol conditioner.  I also like the fact that they carry a wider selection of the Organic Root Stimulator (ORS) products and the ECO Styler gels.   If I finally get my courage up I may stop back in soon for a half wig or maybe just a drawstring pony.  Last I checked the 100% Kanekalon braiding hair was under $4 (USD) per pack!  Hmmm. . . now where did I see that braiding tutorial?

Protecting Your Hair at Night

Satin Bonnet
for when I’m wearing rollers and
curly braid outs

I’ve been writing lately about Protective Hairstyles which can help with length retention.  Yet another way to protect the hair is by wrapping it up at night.  This may sound like a no brainer to some but there is a lot of benefit for the hair by doing this one thing.   This practice can be a huge help when trying to reach your hair length goals.

I  recently re-read a bit of Wanakee Pugh’s “Practical Guide to Haircare” and something stood out to me.  She stated that even if your hair is too short to be pulled back into a protective style, you can still benefit from wrapping your hair at night.  This reminded me of the beginning of my Natural Hair journey because I did this faithfully every night.  My hair was maybe only 1 1/2 inches long at the time but I kept it wrapped up in my satin scarves when I went to sleep.  Now that my hair is longer I can tell a huge difference in my hair when I go to bed without covering it up.  I wake up to tangles and sometimes dryness.  I agree that it is not the cutest look going but it works.

I mentioned my satin scarves (I have a nice little collection) but you can also use a satin bonnet.  Satin is a man made material that is easy to wash and can be long lasting.  This is highly recommended as far as material choice because it does not draw moisture away from the hair and is smooth so it won’t disturb it very much while you sleep.  When I wear rollers to bed I usually reach for my satin bonnet.  Otherwise, I have scarves in a variety of sizes for when I wear braids, twists and protective styles to bed.  Here’s a few pics of how I wrap my hair.

Pineapple for the Corkscrew Braid Out
with my edges protected

Air drying while smoothing my edges 

Large Satin Scarf to protect my
 Roller Set from the rain

Satin Bonnets and Scarves from
the local BSS

Protective Style: Flat Twist UpDo

I’m finally embracing the idea of protective styling to help me retain more length.  This concept has been so hard for me to grasp because I absolutely love wearing my hair out.  The more time I spend over at K.I.S.S. hair forum the more I see that during the week (Monday thru Friday) there really isn’t any need to wear my hair down.  I’m usually shuttling the kids to school, exercising and running errands which does not require a glam look.  Still, when I want to look somewhat put together I just throw my hair up into two large flat twists and I’m good.

Before, I discovered this look I was always wearing two french braids (under hand braiding) or two cornrows (over hand braiding).  Sometimes though I think the braids made me look a little juvenile so for this reason I started wearing the twists
more often.

Flat Twists secured
with a Barret

My process is pretty simple.  I discovered that the flat twists have lots more volume when I allow my hair to air dry first.  Usually after my wash day routine, I apply my leave-ins and just pull my hair back into a braided bun for a whole day until it is mostly dry.  Then I take the hair down so I can apply my moisturizer and seal with grapeseed or olive oil.  After this step, I separate my hair into two large sections, parting down the middle and pin one side up with a clip to keep it out of the way.  I lightly comb out the other side with a wide tooth comb and begin flat twisting from the front of my head all they way to the nape.  I found that the twist looks best when I grab smaller sections for each turn.  After twisting all the way down I let the twist sit for a few minutes because it will gradually loosen a bit and look fuller.  I repeat on the other section.  Once both flat twists have “grown,” I take the tail ends and twist them around each other.  I then tuck them at the base of the twists with a bobby pin or barrette.  If I want bangs I just take a small section at the front and do three small two-strand twists.  Then I swoop them and secure the bangs into one of the twists.  If I see any loose points along either twist I just use bobby pins to tighten things up.

I used three small two-strand twists
for a side swooped bang

I enjoy wearing this style because it has the potential to look really glam with a little makeup and some earrings.  This is also an easy style to take down so that I can moisturize and seal my hair whenever it is starting to feel dry.  The best thing is knowing that I’m taking care of my hair by simply keeping it tucked away.

Roller Setting Natural Hair-What I Have Learned

Roller setting any hair type is a tricky business.  Still, you can achieve smooth results using rollers on natural hair.  Once you get the technique down you can get salon quality hair at home.  

Here are some things I’ve learned about roller setting my natural hair.
1. Taking the hair down while it’s still damp (not completely dry) will result in frizz.  
I have done this so many times so I know this to be true.  Sometimes the frizziness actually adds to the style though if your going for a bigger look.  However if it’s sleek and smooth you want, you gotta leave the rollers in until completely dry.
2. For bouncy hair use as little product as possible. 
I use a good leave in, maybe a dime size of heat protectant and then just water to re-wet each section when I want a soft, bouncy set.  Setting lotion is also an option if I want more hold and is usually not too heavy.
3. Using oils may extend the drying time
I learned this one the hard way one night after rolling my hair while it still had some oils in it from my deep conditioning treatment.  I sat under the dryer for 2 hours and it still wasn’t dry!  I ended up having to sleep on the rollers until morning…ouch!
5. Use a good leave-in conditioner
Since natural hair has so much texture I’ve found that smoothing each section with the rat tail comb or Denman Brush is much easier when I apply a good leave-in.  My favorites are Garnier Fructis and Kinky Curly Knot Today because they give lots of slip.
6. Stick with rollers that are the right size for your hair length
Using rollers that are too large for your length can make rolling the hair more awkward.  
7. Don’t put too much hair on the roller.
If the parted section is wider than the roller, the hair may slip off of the roller from the sides leaving some puffy strands.  Also, putting too much hair on to one roller can result in longer drying times and semi-smooth results.
8. Ponytail Roller set = smooth roots
If I’m going for a curly look I don’t even worry about the roots.  It’s when I want a more straight look where the smoother roots come in handy.  You can always whip out the flat iron for this but using ponytail holders to smooth the roots works too.  There are plenty of discussions online and YouTube videos on this technique. 

My hair after a Ponytail Roller Set and Silk Wrap


Ponytail Roller Set on Natural Hair

Recently, I have tried my hand at roller setting my hair again and I absolutely love it.  This was a staple style for me when I was transitioning because it was a way to blend my roots with the straight ends.  I’m not a huge fan of sitting under the dryer though so I stopped doing it so often and only pulled the rollers out for special occasions.  Since I’ve been reviewing the whole flat iron thing I realized that using direct heat on my hair is actually doing more harm than good.  I can get smooth results with the rollers and save my hair the damage from straightening with heat.  
There was still one thing though.  Whenever I did a roller set it took forever in a day to get all of the rollers in and I would end up with puffy roots.  Well, there’s a little cheat called the, “Ponytail Roller Set,” where you use ponytail sections to smooth the roots.  I still sectioned my hair with the mohawk down the middle and two side sections.  So there were 4 ponytails down the middle and 3 on either side.  I used mini Ouchless bands which worked well because they slid out pretty easily.  Then I only had to use two large rollers per ponytail.  I was so happy that it took a lot less time to get all of the rollers in and even more so that I could actually comb through my roots.  That night I even did my very first successful Saran Wrap/Silk Wrap.  This is when you wrap the hair after the roller set to smooth it for a more straight look.  My results were so nice that I’ve decided, from now on, I’m going to use my rollers when I want to wear it straight.  I’m okay with using the flat iron on my roots every once in awhile but there really is no need to put that kind of stress on my ends each time.  Here are some pics of how it turned out.

Top View

Back and Side

Roots turned out smooth

The setting lotion I used

Results from the Saran Wrap/Silk Wrap